


Baby Bunny Ears Headband Crochet Pattern
/
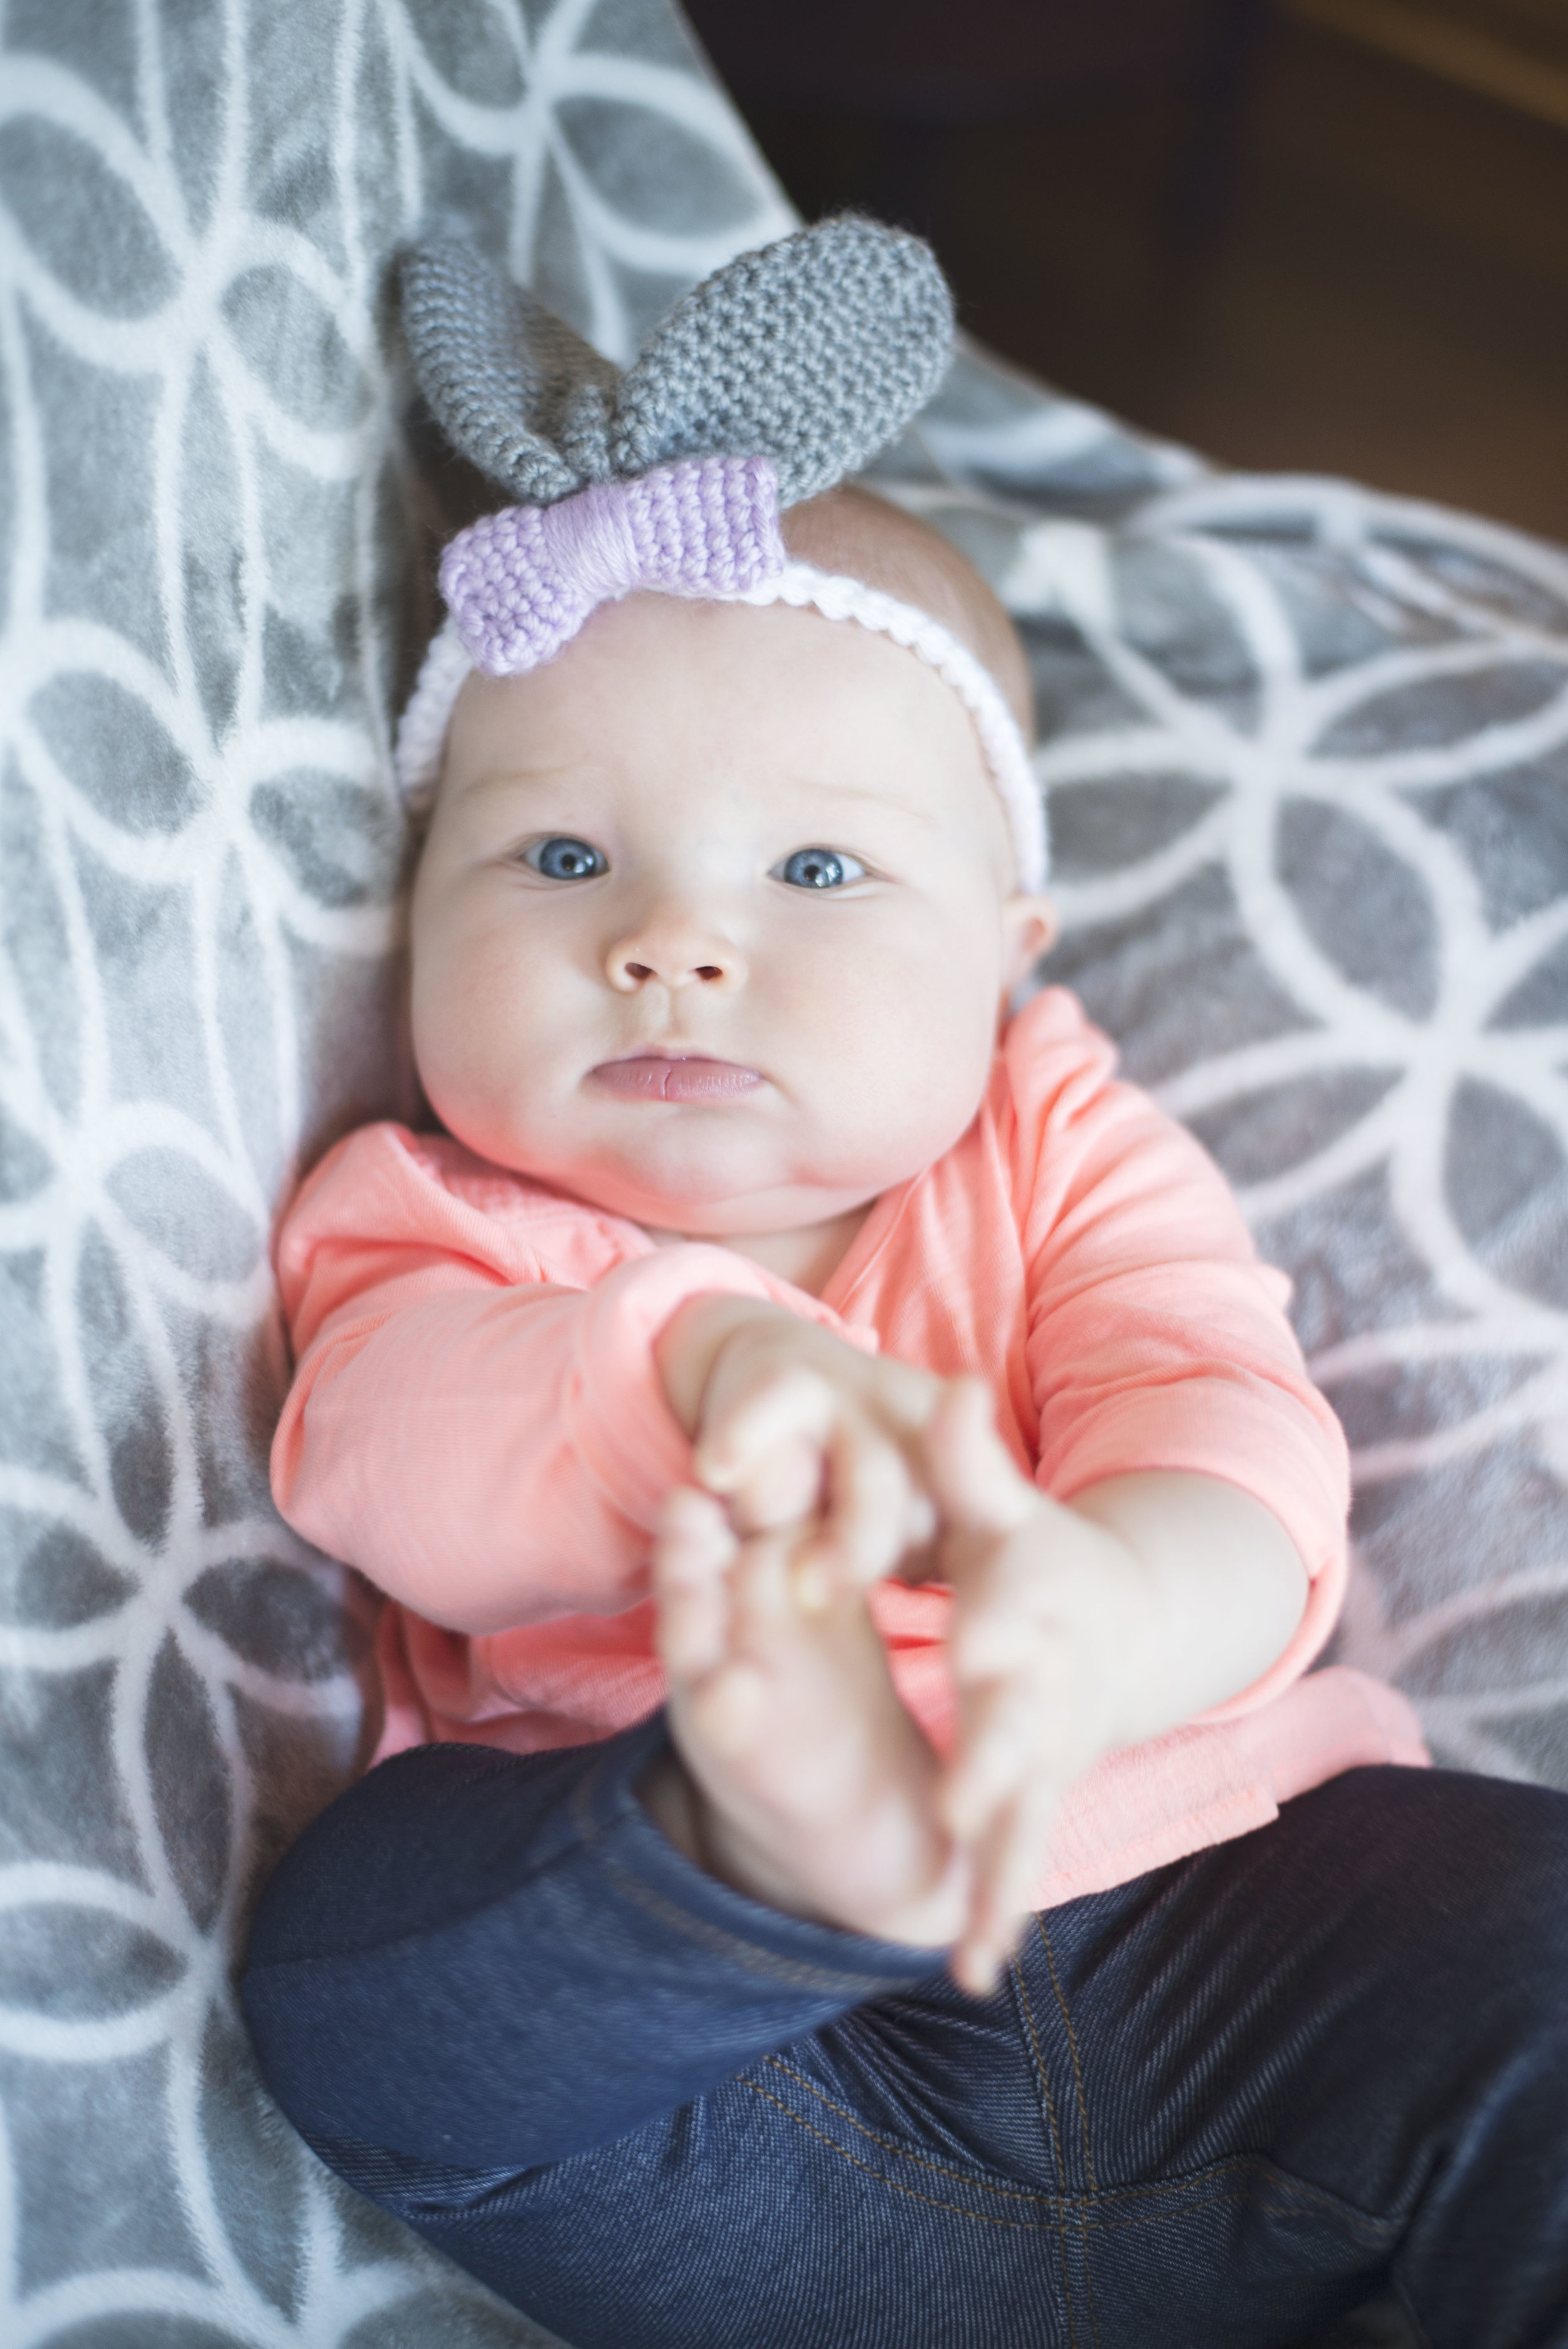
Spring time has got all these cute bunny patterns hopping (heh..) up, so I thought I'd design the cutest little bunny headband for a little baby girl! (This pattern is beginner friendly!!)

My cousin's baby, Rory, ROCKED this headband for me. She's just the cutest. You can see her modeling my other baby headband here.

Seriously, CANNOT handle those cheeks. ahhh!!
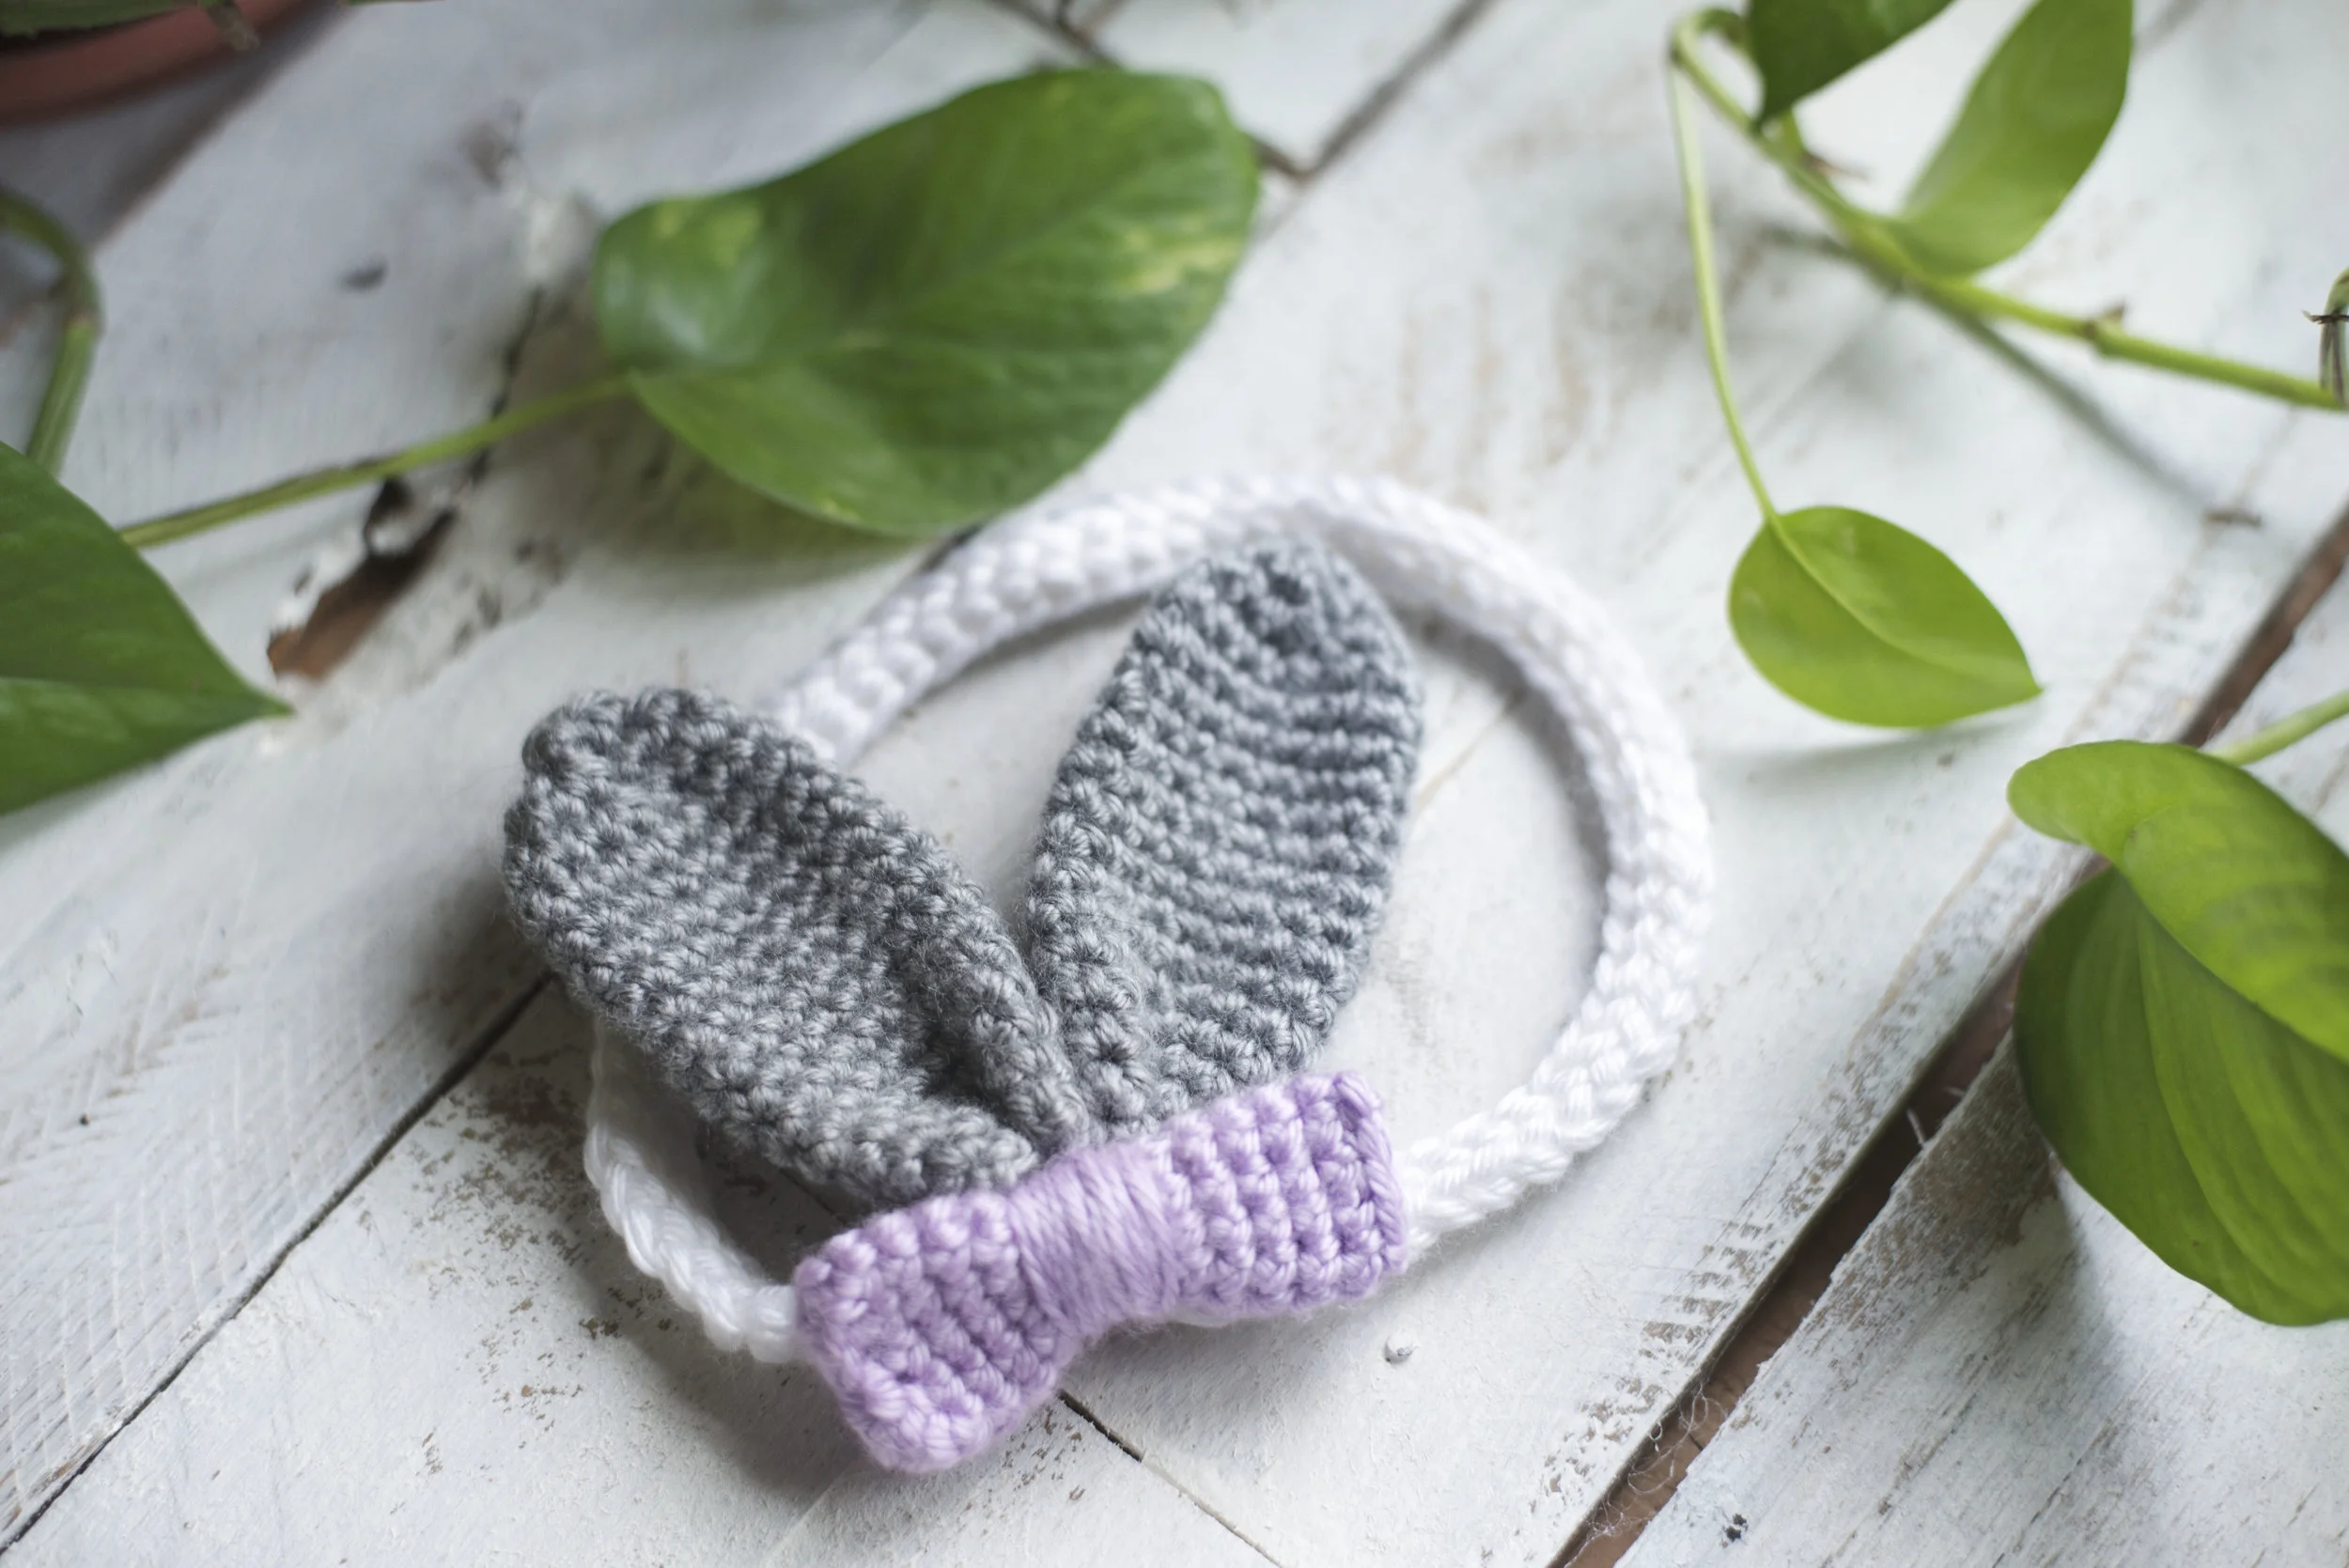
I used Caron simply soft yarn (one of my faves), and designed the ears/bow to be double thick. I did this because I wanted the ears to stick up, plus I just think it looks more polished! The band is made using two strands of yarn, because it needs to be able to support those honkin' ears!
What you'll need:
Size F (3.75 mm) hook (this set would be perfect for a beginner)
Worsted weight yarn in gray, white and purple (I used Caron Simply Soft in Soft Grey Heather, White and Orchid)
Tapestry needle
Abbreviations:
ch=chain, st(s)=stitch(es), sc=single crochet, sc2tog=single crochet two together, sl=slip, fsc= foundation single crochet
Notes:
*ch 1 at beginning of rounds do not count as st
The sizes are only suggestions, as babies all vary on measurements.
Newborn stretches up to 14 inches, 3-6 months up to 16.5 inches and 6-12 months up to 18.5 inches
Pattern:
Ears (using gray) - make two:
*start by making a large yarn tail when you slip knot*
ch 16, join to first ch with sl st
1) ch 1, sc in same st, and sc around in remaining sts, join to ch 1 with sl st (16 sts)
2-14) ch 1, sc around, join to ch 1 with sl st (16 sts)
15) ch 1, {sc2tog, sc, sc} repeat {} around, join to ch 1 with sl st (12 sts)
16) ch 1, {sc2tog, sc} repeat {} around, join to ch 1 with sl st (8 sts)
17) ch 1, {sc2tog} repeat {} 4 times, join to ch 1 with sl st (4 sts)
18) inserting hook into first st, and then the 3rd st -- sl st to join and finish the top of the ear
finish off, weave in end (but leave the long tail you started with on ear to sew the ears together)

To attach the ears together, fold the bottom of each ear together, then sew them together making several passes with your needle and tail of yarn.

Bow (using purple):
ch 10, join to first ch with sl st
1) ch 1, sc in same st and sc around in remaining sts, join to ch 1 with sl st (10 sts)
2-13) ch 1, sc around, join to ch 1 w sl st
finish off, leave long tail for sewing
flatten the bow and sew the short ends shut with needle, wrap the middle of the bow multiple times tightly with yarn (shown below) to bind the middle together.

To attach your bow and ears, place your bow on top of the ears, use your long tail to attach from the back of the bow, weaving your needle through the wrapped yarn (see below), then attaching it to the ears until it's secure.

Headband (using TWO strands of white):
Newborn- work 46 fsc
3-6 months- work 54 fsc
6-12 months- work 62 fsc
Finish off, and leave extra long tail. Sew the short ends together to join the band. Don't cut or weave in the ends yet, because after you join the band, sew the bow/ears on top of the band. I started by attaching the ears first, then sewed the ends of the bow onto the band (I sewed on the back side of the bow/ears only).
After the ends are all weaved in (ugh, I know) you've got yourself a cute little bunny headband! Perfect for this spring. Due to the way I designed the ears, you're able to bend them without them just flopping over-- exactly what I was going for!
Have a lovely spring day!
Meg


