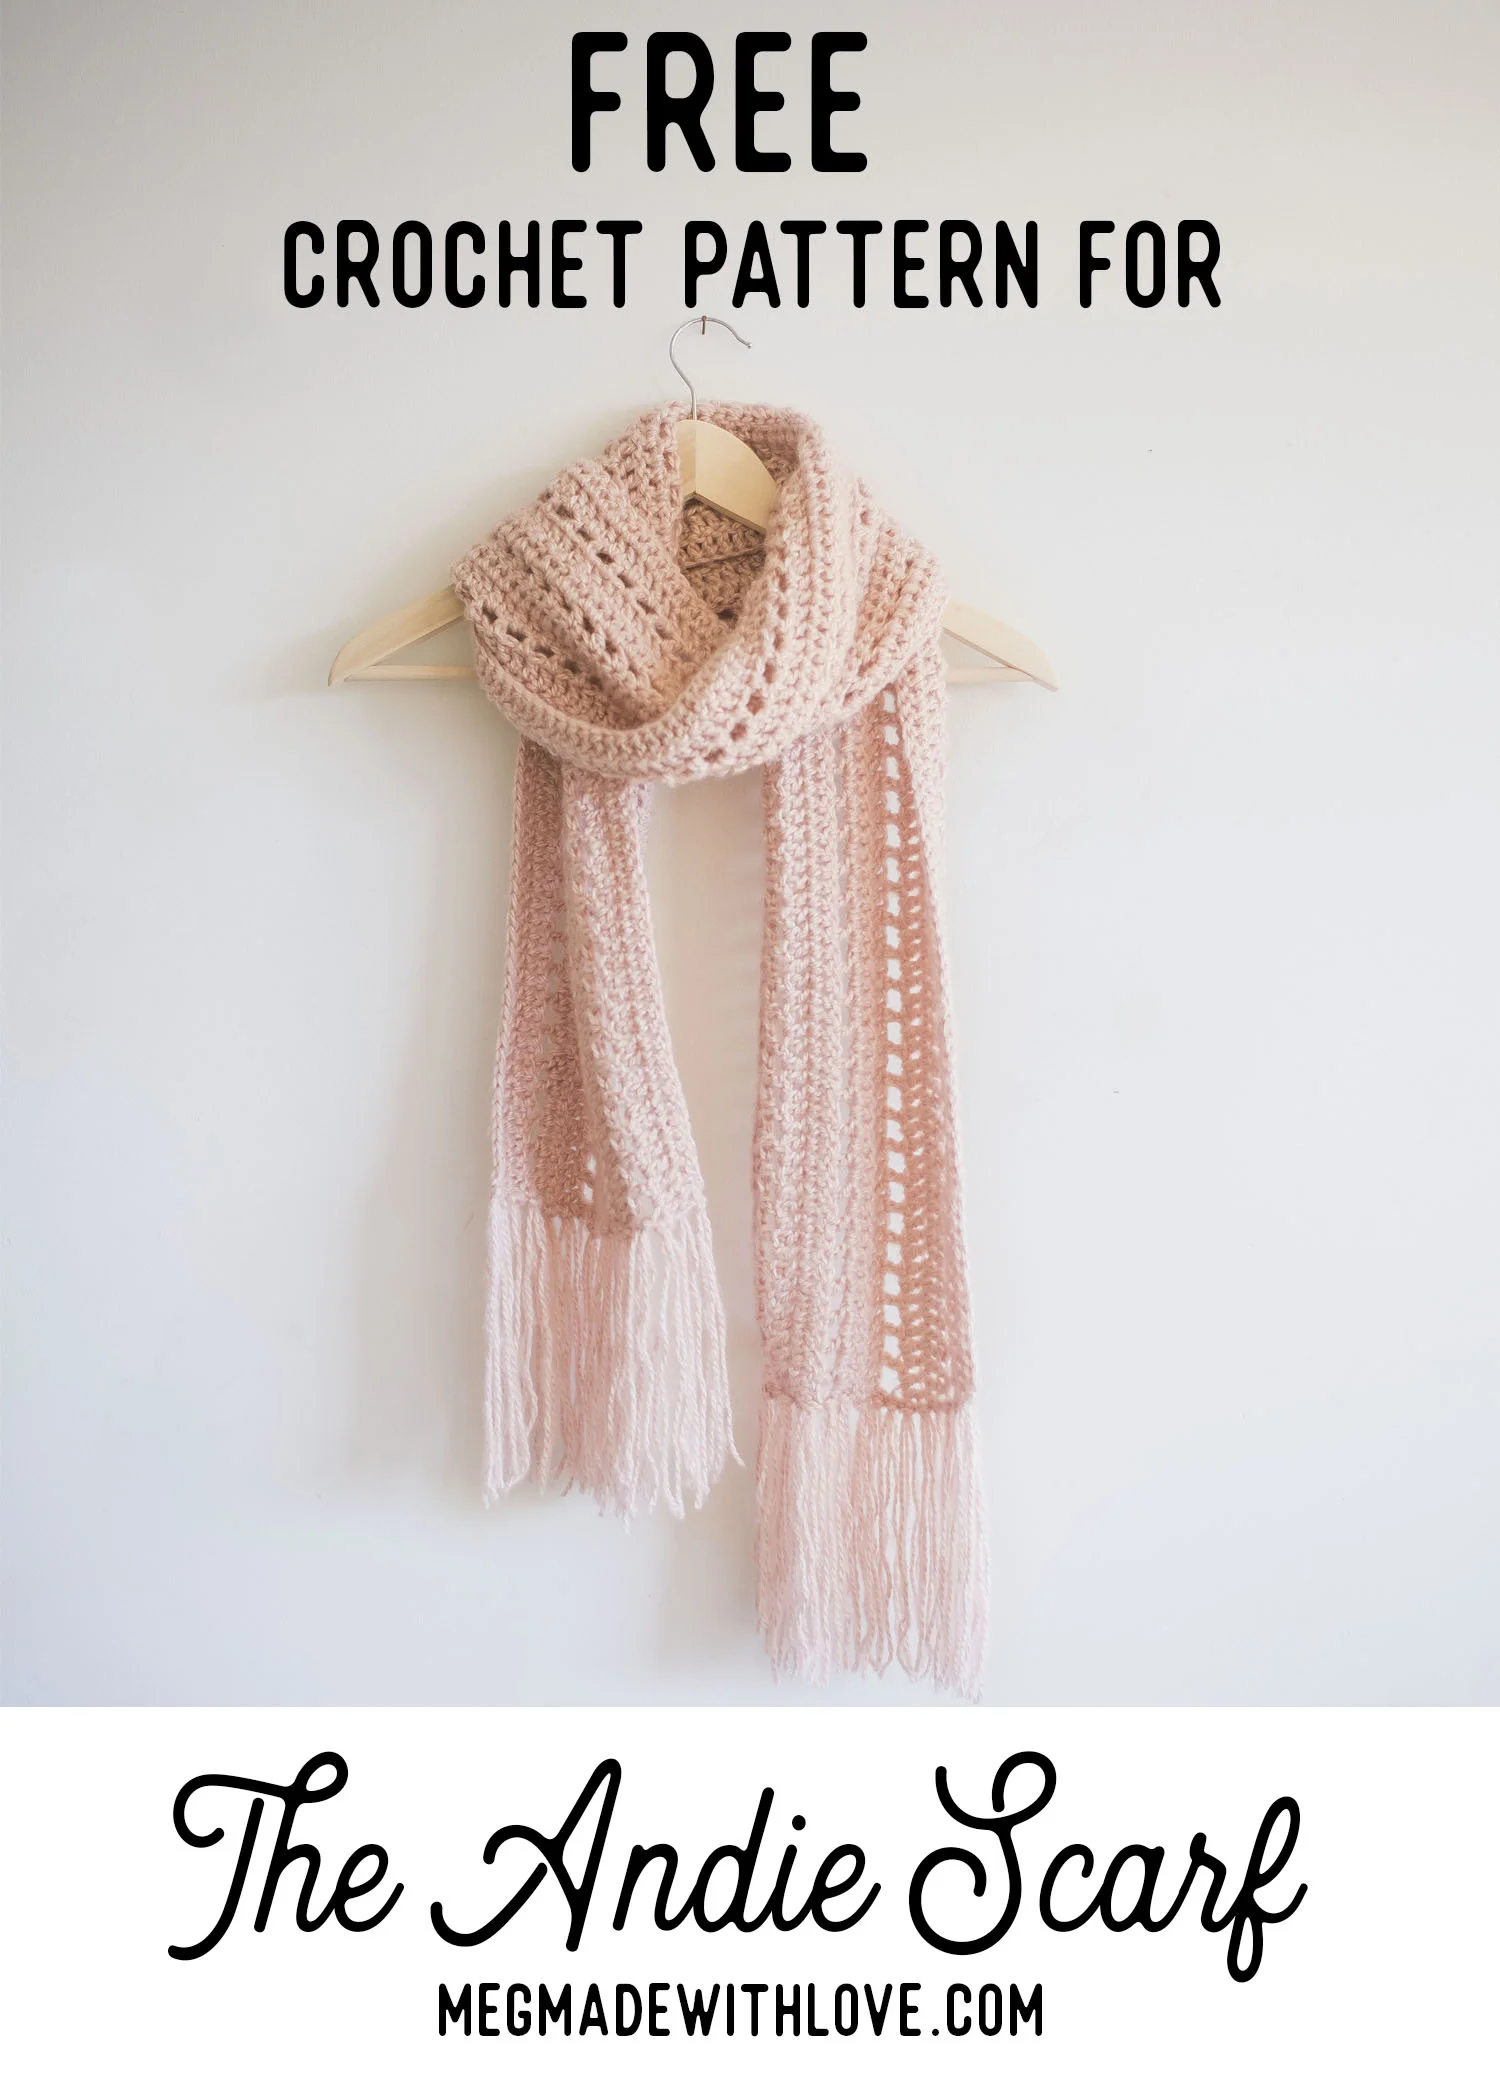
Free Crochet Pattern for The Andie Scarf
/***You can find the PDF version of this pattern in my shop by clicking here. Great for easy printing!***
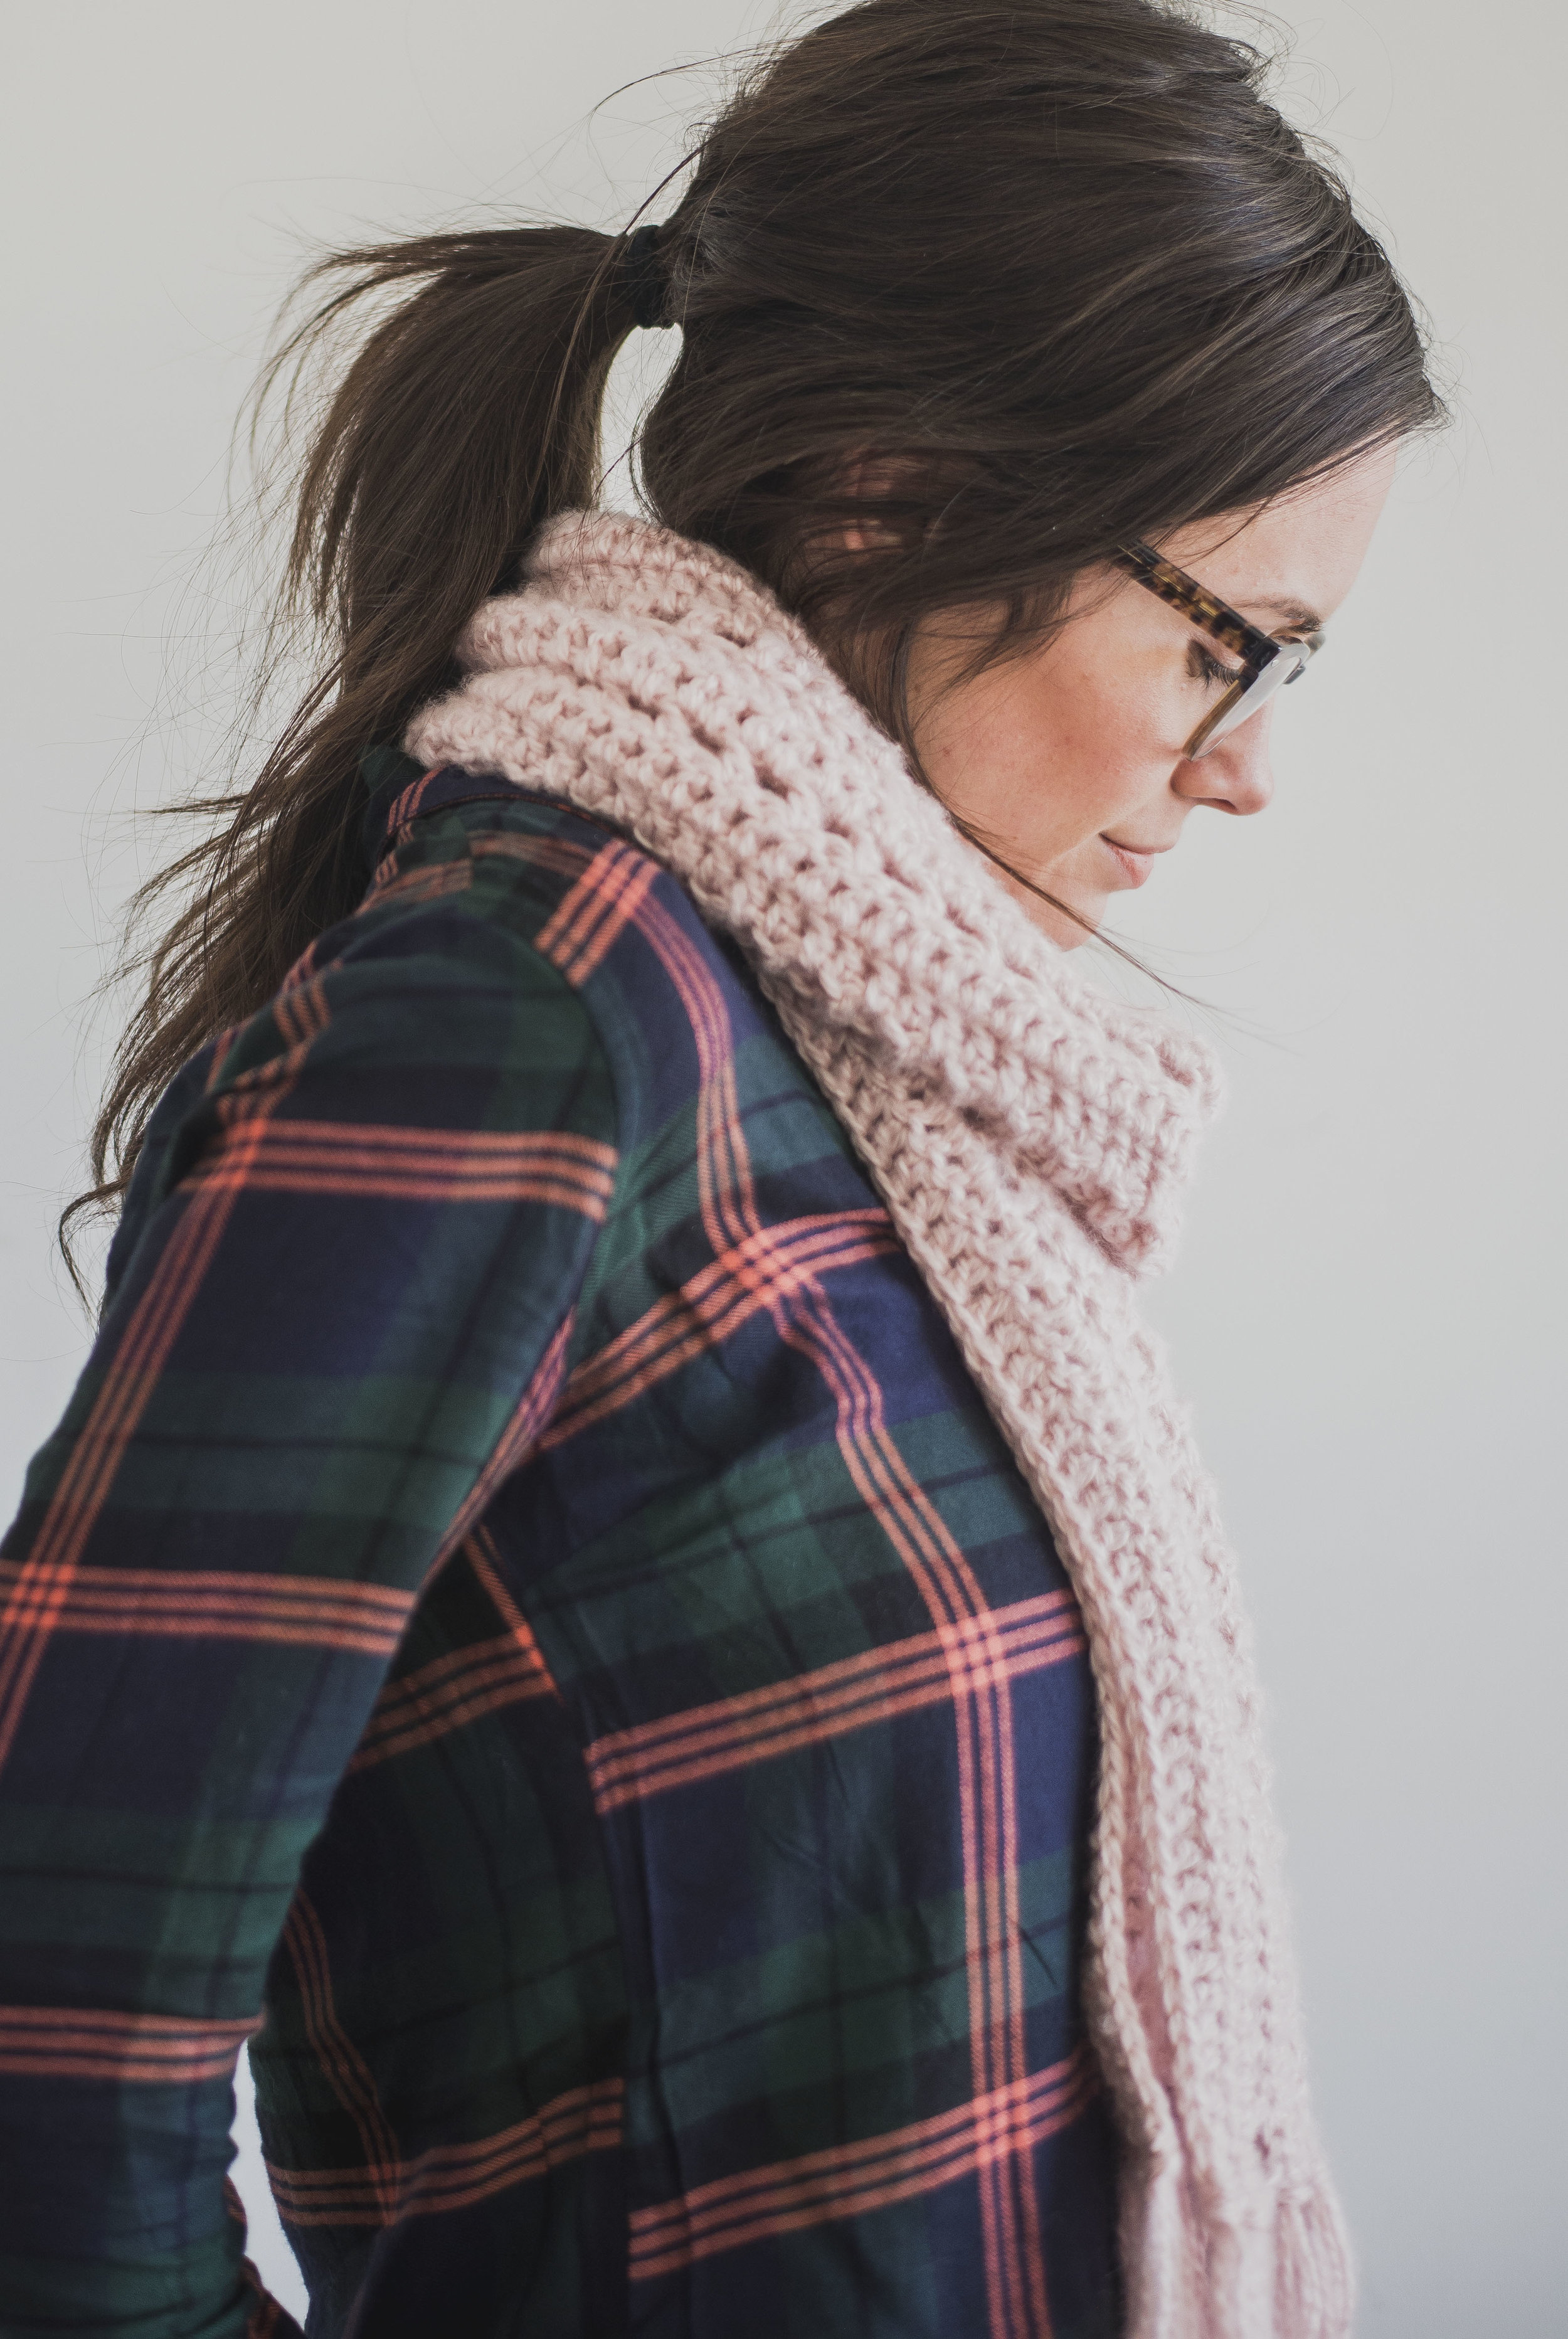
In this post, I'm bringing you a pattern for the loveliest of scarves-- The Andie Scarf (name suggestion from a fellow Instagram-er, Kimberly Jane!). I liked the name Andie because this scarf reminded me of the movie "Pretty in Pink". I loooved this movie growing up, and admired Andie for her DIY approach to fashion. Plus, who isn't a fan of Molly Ringwald??
This scarf is just so easy to make. It's one of those mindless projects that you can work up while watching a movie. And it doesn't take long at all.
For the scarf I used bulky (5) yarn, precisely Yarn Bee Tender Touch in Rose (so incredibly soft and lovely!!). I think another good yarn for this scarf would be Lion Brand Scarfie, although it's cutting it pretty close to one skein of the Scarfie yarn, with yardage-- you may have to go two skeins, especially if you want the fringe.
I designed it to be pretty long so it could wrap around the neck with plenty of slack- plus fall down quite a bit. It can also be worn so many ways!
What you'll need:
-Approximately 325 yards bulky (5) yarn (this is just for the scarf-- not including your fringe. Add another 30 or so yards for the fringe) I used Yarn Bee Tender Touch in Rose
-Size K Hook (6.5 mm)
-yarn needle
Measurements:
Approximately 74 inches long by 7.5 inches wide
Gauge:
11 dc by 7 rows equals a four-inch square
Notes:
-ch's at the beginning of each row do not count as sts unless otherwise noted
-When it came to each the rows after the “hole-y” rows, I found it easier to work the dc’s into the “ch 1” sp’s rather than working the dc into the actual ch, this was just a preference-- but it worked up much quicker
Abbreviations:
fdc=foundation double crochet, ch=chain, dc=double crochet, sk=skip, st(s)=stitch(es), sp=space
Pattern:
Row 1) work 190 FDC (**I chose to do the FDC because they work up so much quicker in my opinion. If you'd rather not do the FDC you could ch 192, then dc in the 3rd ch from hook and across) (190 total sts)
Row 2) ch 2, turn, dc across (190 total sts)
Row 3) ch 3 (the last of these ch's will count as a "ch 1" sp), turn, sk first st, dc into next st, (ch 1, sk st, dc into next st) across the row. (you will dc into the last st) (190 total sts - 95 dc + 95 "ch 1" sp's)
Rows 4-5) ch 2, turn, dc across (190 total sts)
Rows 6-14) repeat rows 3-5 three times
Finish off and weave in ends
For the fringe, I cut yarn pieces that measured 16 inches long. For each fringe I added on, I put two of the 16-inch pieces together and folded them in half.
To add the fringe onto the scarf, I inserted my hook into the very edge of the short end of the scarf. Then I drew through my fringe pieces at the fold.
Then I drew the ends of the fringe through that fold (the loop). Then you just have to pull them tightly to tie on!
I just added the pieces of fringe so they'd be as close as possible to one another.
Once your fringe is added, your Andie Scarf is complete! Hope you enjoy this cute little accessory. It's gonna be a staple for me in these upcoming winter months.
If you end up making this scarf, do please share your completed project with me over on Instagram! I would love to see. :)
Take care and happy making!
Meg


