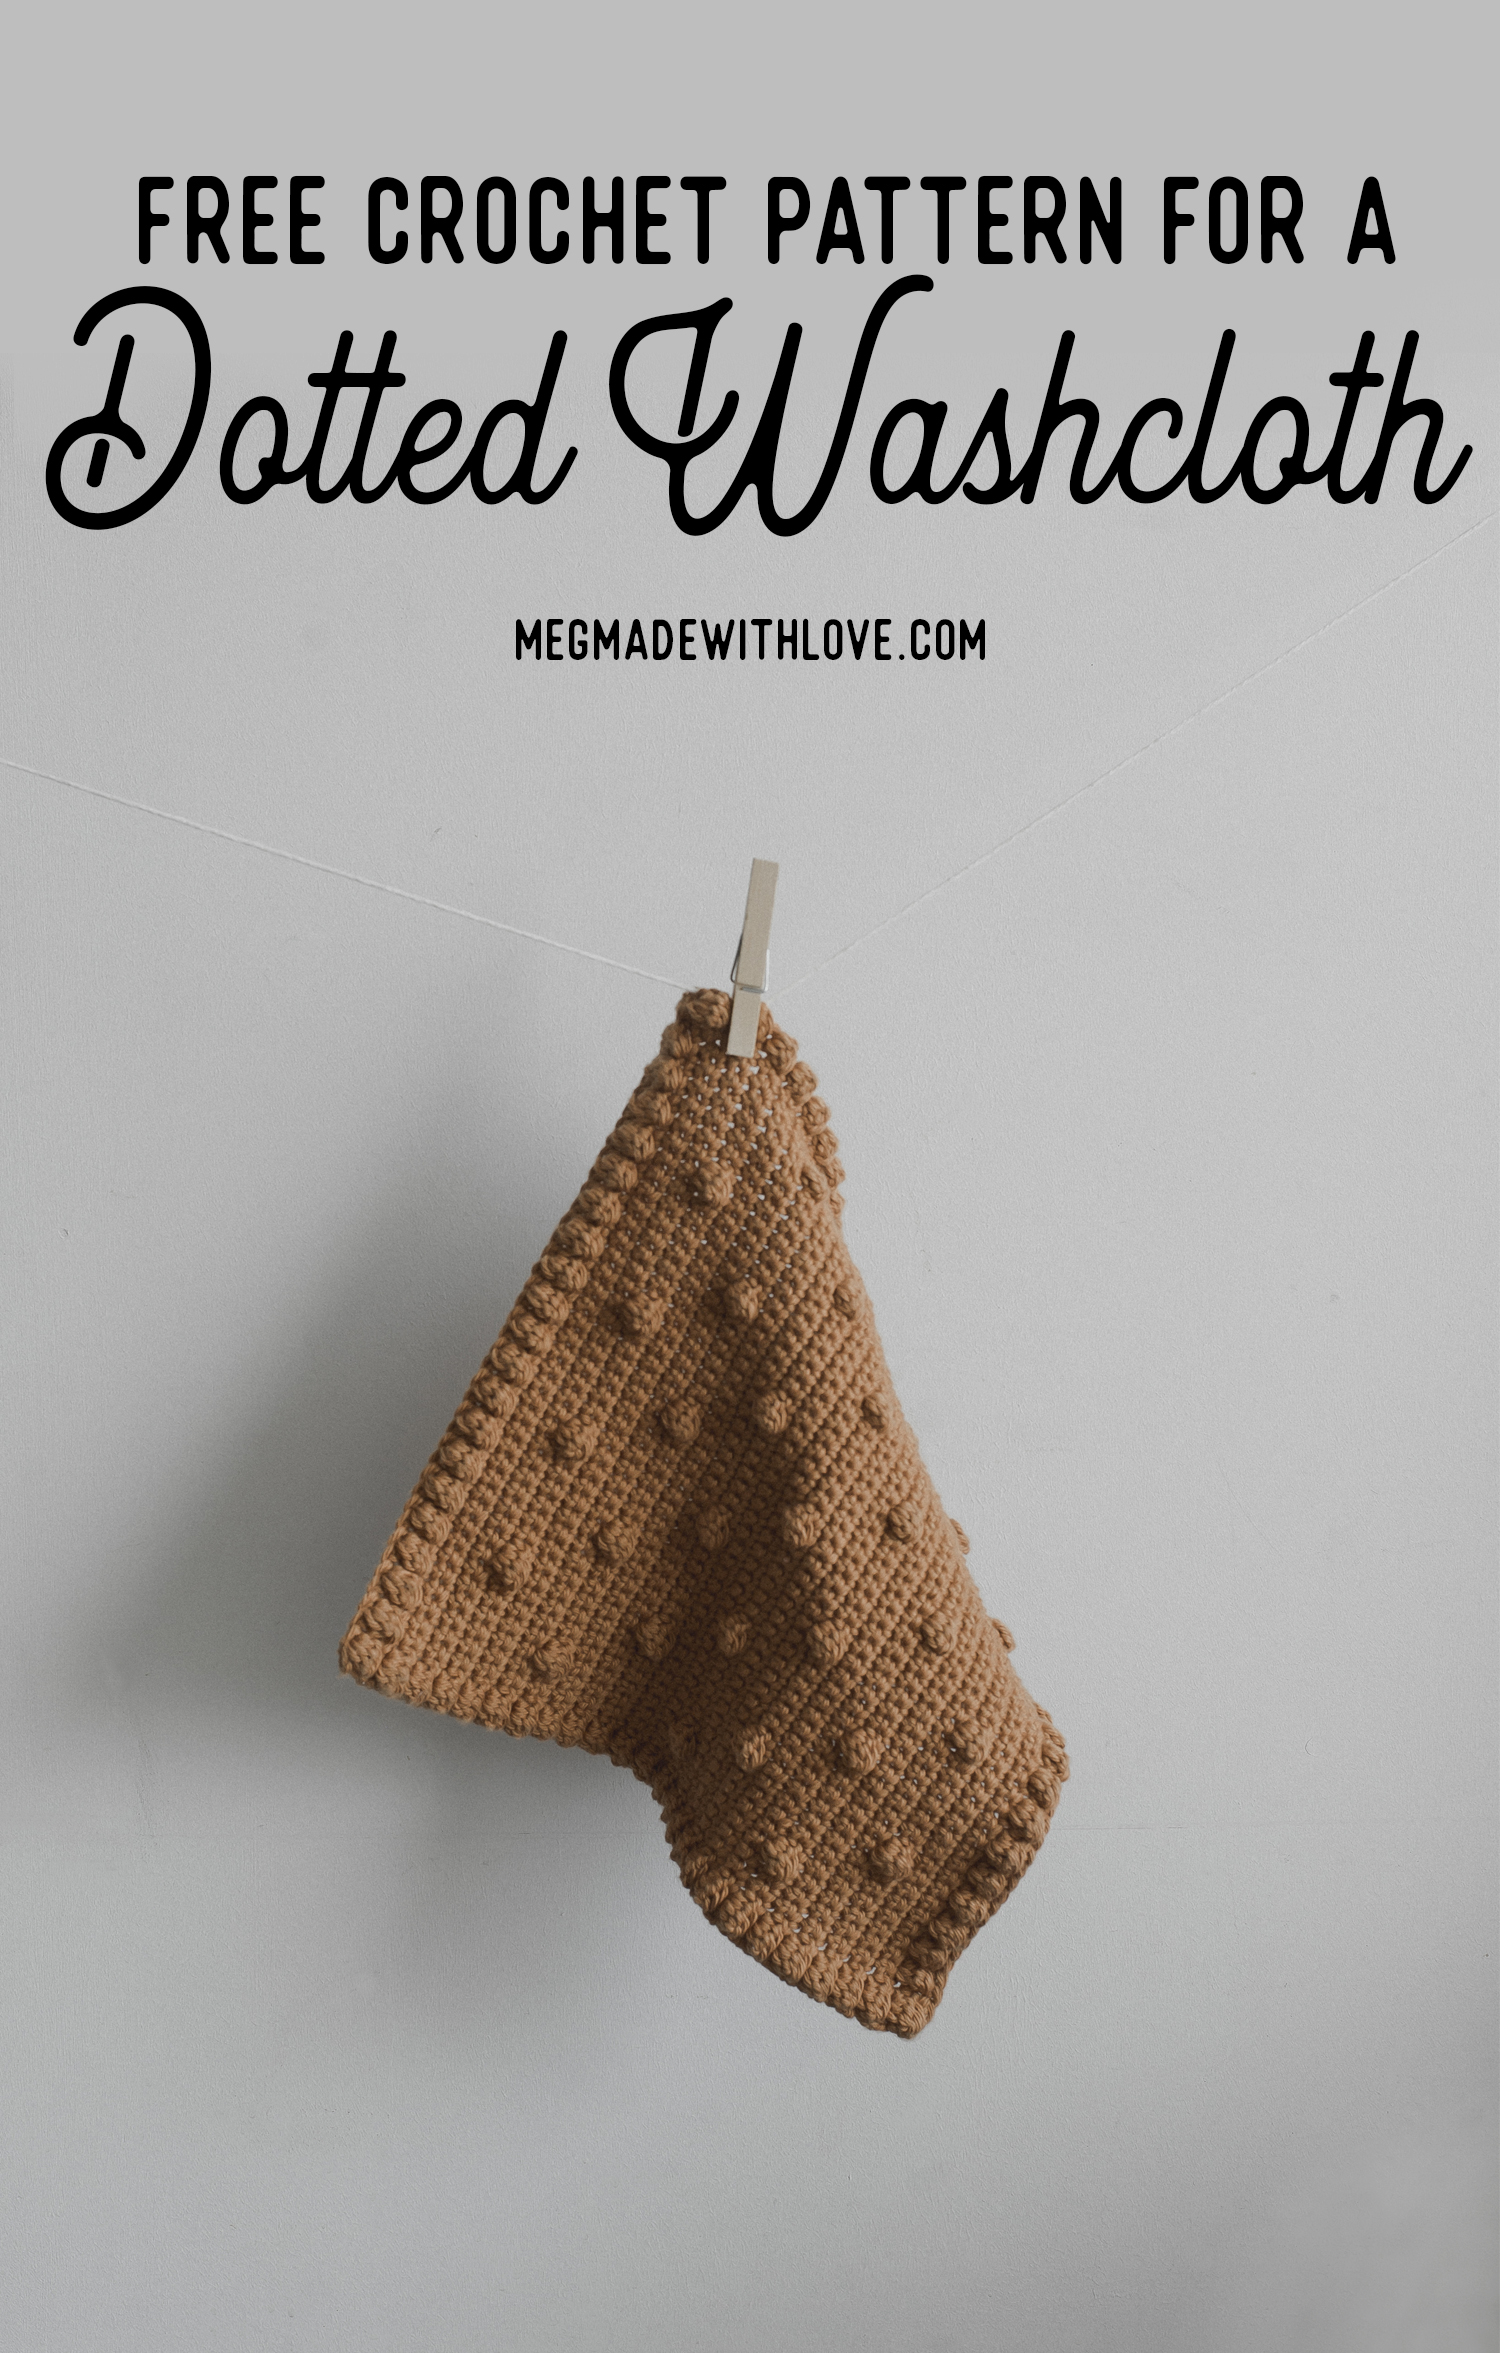
Free Crochet Pattern for a Dotted Washcloth

Free Crochet Pattern for a Rustic Dotted Washcloth - Megmade with Love

(You can purchase the PDF version of this pattern in my shop by clicking here. Great for easy printing!)

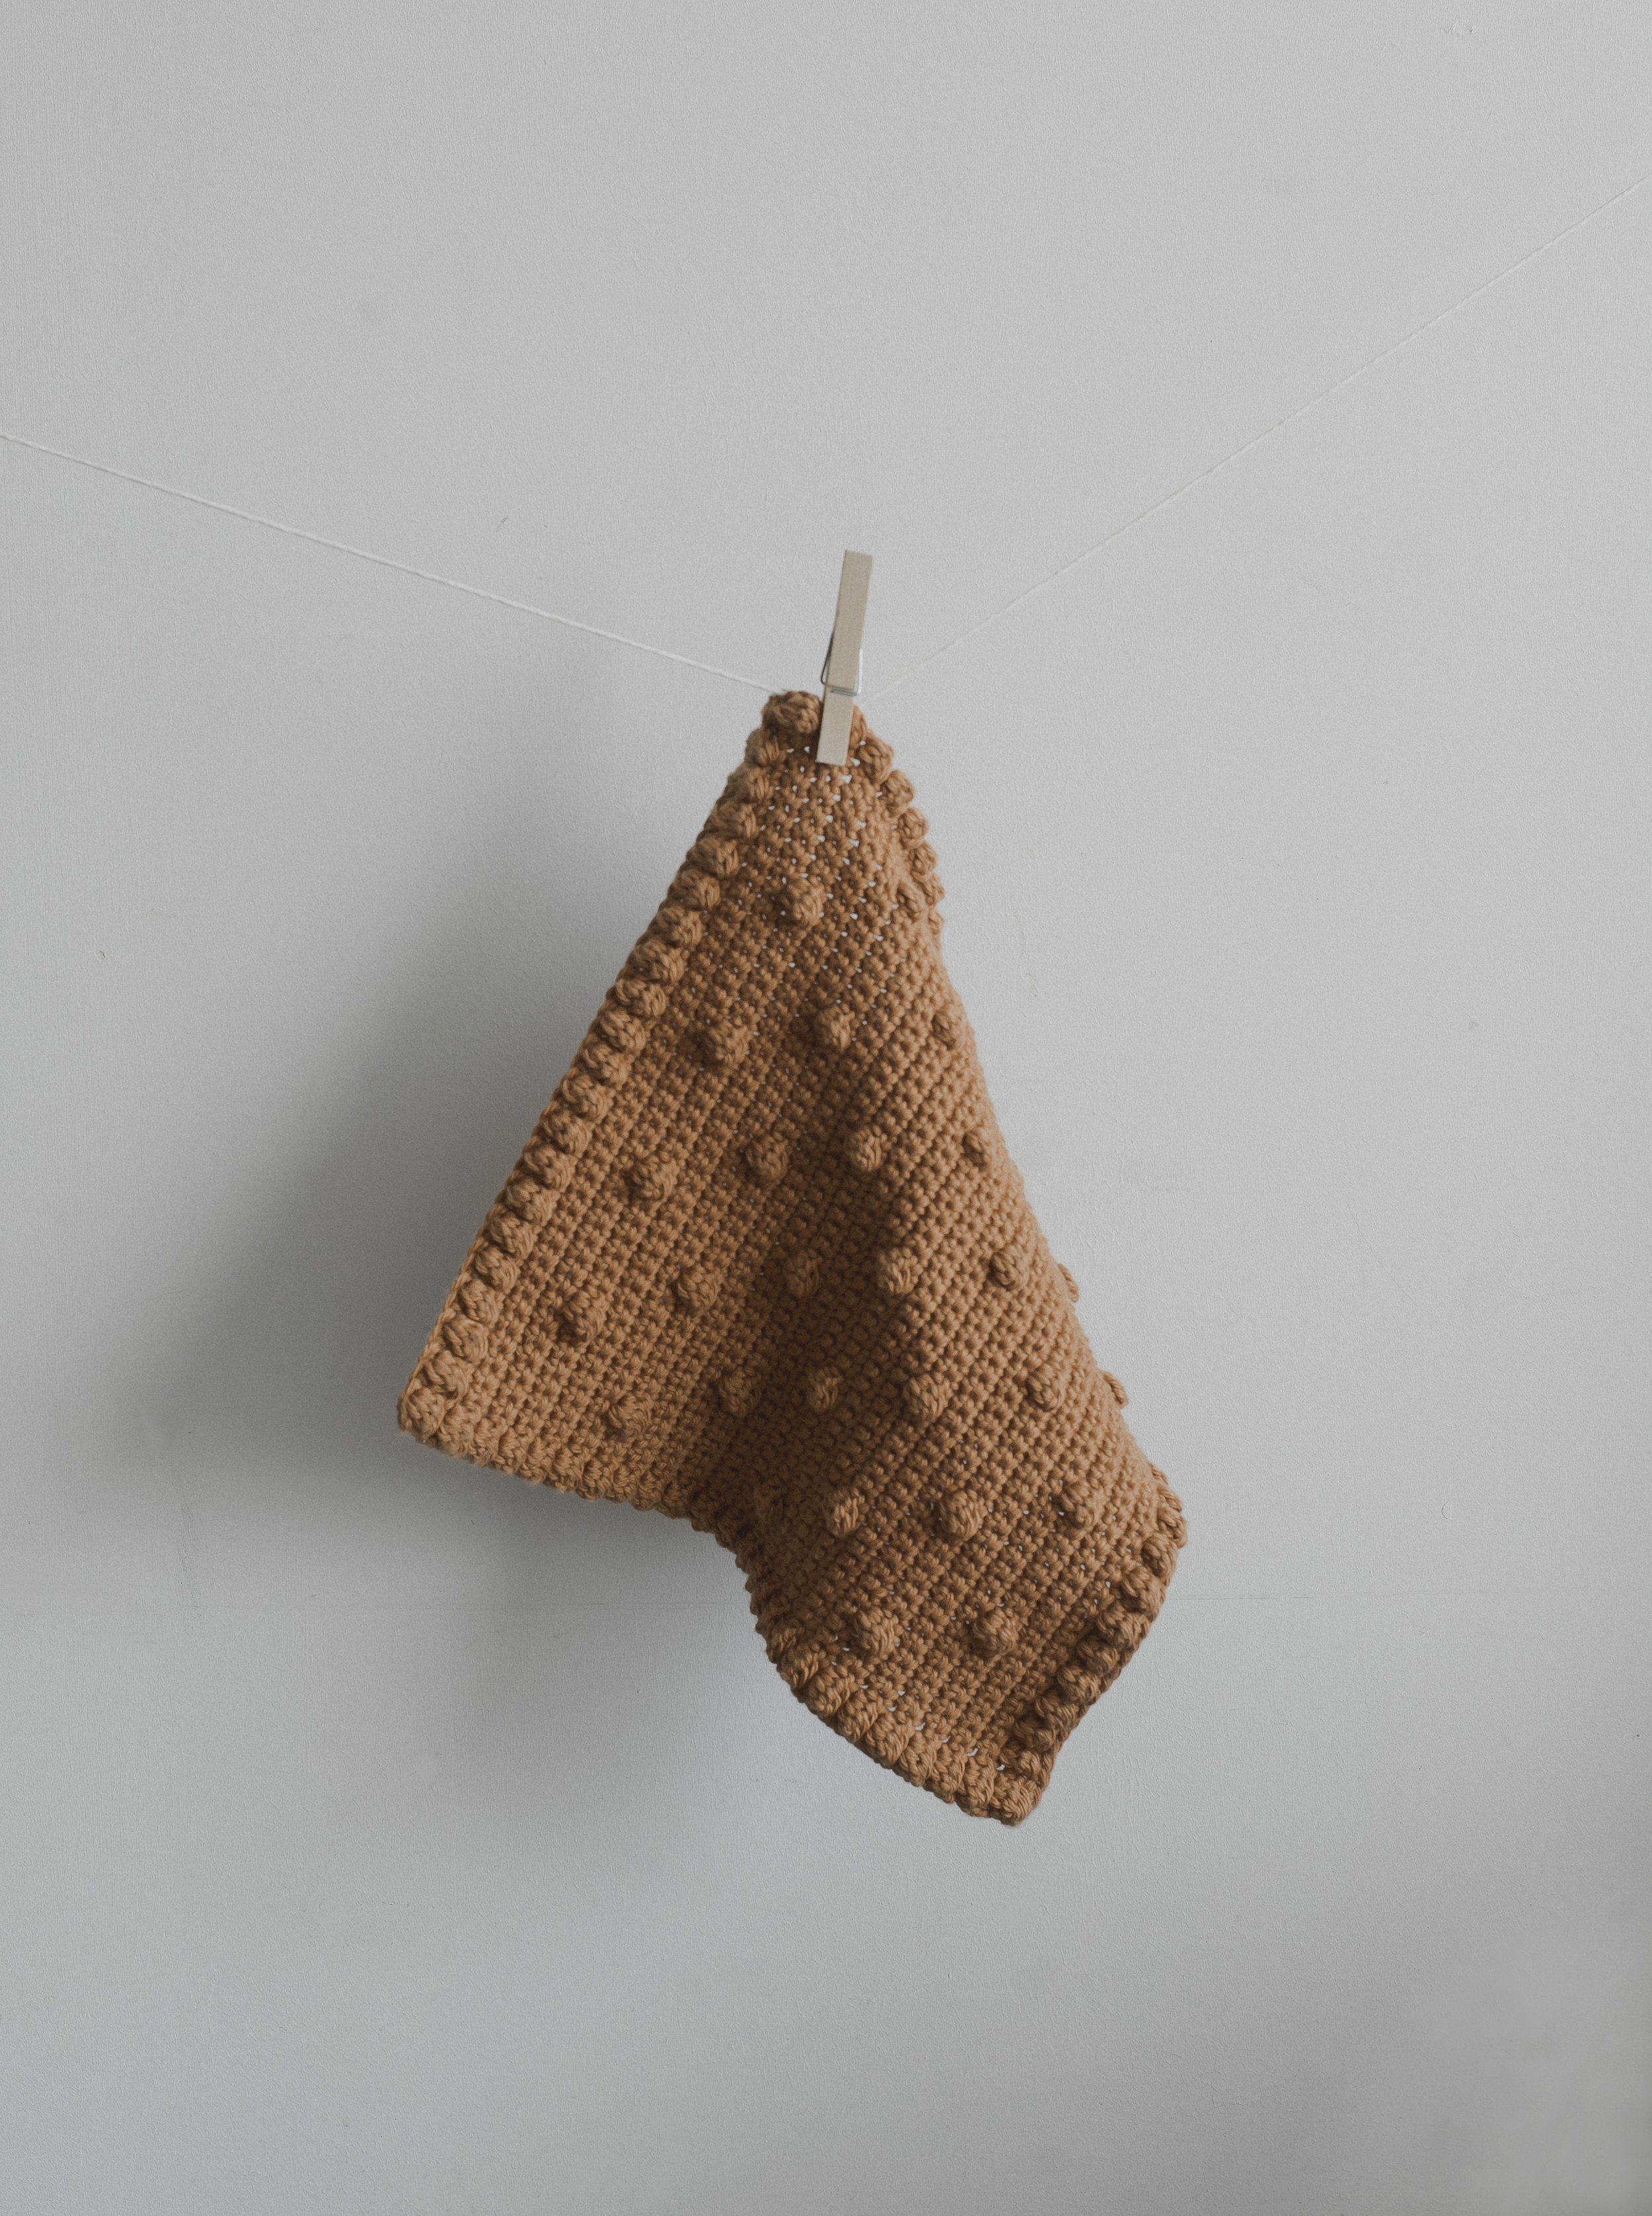
This week's pattern is so fun! It's this rustic and dotted washcloth that works up in a snap... It features cool bobble dots that's also surrounded by a bobble border (say that five times fast, teehee). So basically it's bobble galore for this quick and simple project. :)

(Click HERE to see all the other free washcloth patterns here on the blog)

Free Crochet Pattern for a Rustic Dotted Washcloth - Megmade with Love

I actually had the idea for this design last year around this time... but for some reason I just couldn't get it to work out how I wanted it to. But when I thought about making another washcloth pattern this month, this one came back to mind-- and I'm so glad I gave it another try!

Free Crochet Pattern for a Rustic Dotted Washcloth - Megmade with Love

And this yarn color!! *drools* I used I Love This Cotton! Yarn from Hobby Lobby, and it did not disappoint. It's so soft and shiny, not to mention super affordable... definitely one of my favorite cotton yarns.

Free Crochet Pattern for a Rustic Dotted Washcloth - Megmade with Love

What you'll need:

-Approximately 150 yards of worsted weight (4) cotton yarn (I used I Love This Cotton! Yarn in color "Antique Gold" from Hobby Lobby, linked here. I totally recommend this yarn, I love working with it-- affordable and so soft!)
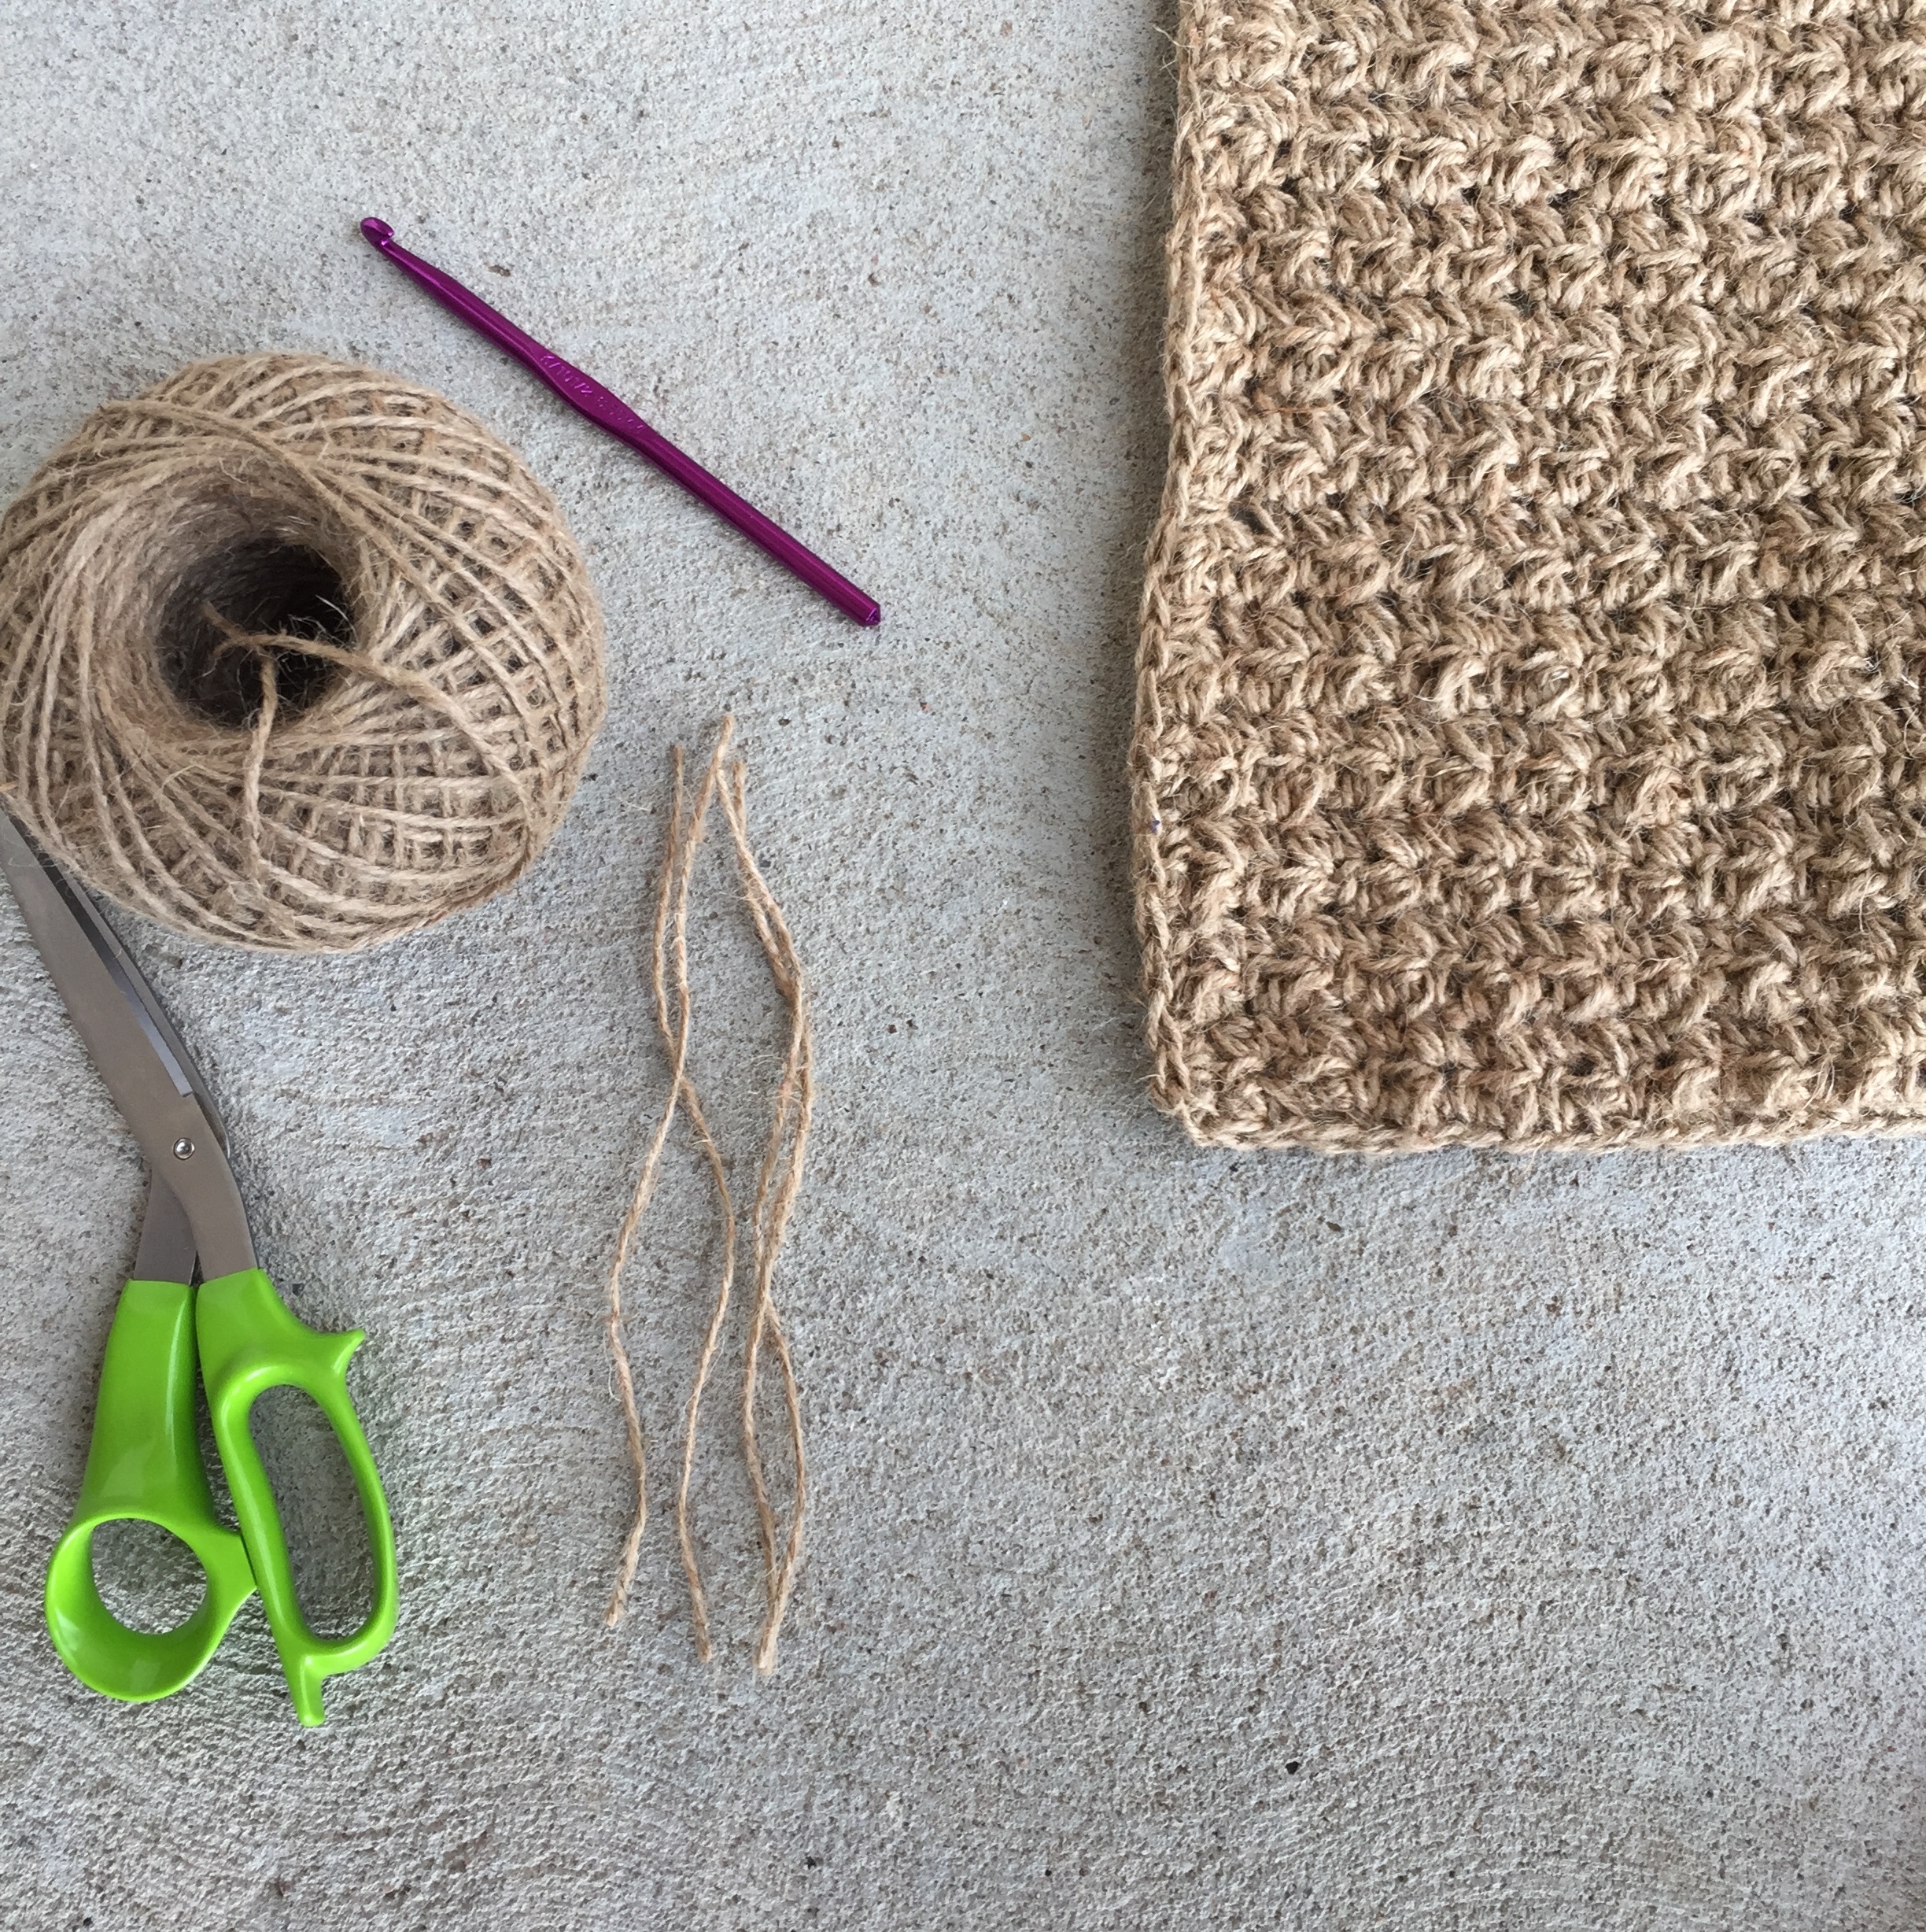
-size H (5 mm) hook, or size needed to obtain gauge
-yarn needle

Gauge:

15 sc by 19 rows equals a four inch square

Abbreviations:

ch=chain, sc=single crochet, bo=bobble stitch, st(s)=stitch(es), yo=yarn over, dc=double crochet

Notes:

-ch at the beginning of rows do not count as a stitch

-below is a description of how to work bobble stitch-- (or view this video for assistance) **please note that for this pattern I call for a 3-stitch bobble, meaning you work 3 partial dc's in one stitch**:

bo: yo, insert hook into designated stitch, draw loop back through, yo, draw through first two loops on your hook, [yo, insert hook into the same stitch, draw loop back through, yo, draw through first two loops on your hook], repeat [ ] one more time, you will end up with four loops on your hook, yo, and pull through all four loops to complete the bobble stitch

-something that may be helpful for you to know is that all odd numbered rows are a sc across row

Pattern:

Row 1) ch 43, sc in 2nd ch from hook and across (42 total sts, and for the rest of the washcloth)

Row 2) ch 1, turn, [bo, sc] across row

Row 3) ch 1, turn, sc across

Row 4) ch 1, turn, bo, sc in next 39 sts (aka until you have 2 sts left), bo, sc in last st

Row 5) ch 1, turn, sc across

Row 6) repeat row 4

Row 7) ch 1, turn, sc across

Row 8) ch 1, turn, [bo, sc in next 7 sts] 5 times, bo, sc in last st

Rows 9-13) repeat rows 3-7

Row 14) ch 1, turn, bo, sc in next 3 sts [bo, sc 7] 4 times, bo, sc in next 3 sts, bo, sc in last st

Rows 15-38) repeat rows 3-14 (you are repeating that sequence twice)

Rows 39-49) repeat rows 3-13

Row 50) repeat row 2

Row 51) ch 1, turn, sc across

Fasten off, weave in ends

Free Crochet Pattern for a Rustic Dotted Washcloth - Megmade with Love

And that, my friends... is how you make one cool washcloth!! I hope it brought you joy to make, because it was fun for me. If you make a Dotted Washcloth yourself, feel free to tag me over on Instagram-- I'd love to admire it :)

Happy hooking!
Meg

Free Crochet Pattern for a Rustic Dotted Washcloth - Megmade with Love

Free Crochet Pattern for a Textured Jute Rug

Free Crochet Pattern for a Textured Jute Rug - Megmade with Love

I've got a fun and simple little pattern for you today.. it's a rustic and textured jute rug! It's perfect for your front door or could even be made into a cool runner for your kitchen. 

Free Crochet Pattern for a Texture Jute Rug Doormat - Megmade with Love

Let me tell ya, I am in love with this rug. I think the jute offers such a natural and rustic look- just my kinda style. And while it looks really cool, let me warn you.. it is ROUGH to work with. It rubs on your hands and can wear out your wrists way more than normal yarn. All that said though, I can say today it is worth it because of the end result. I just made sure to listen to my body when my wrists were hurting and took multiple breaks. I also included other ways to make working with jute easier in the notes below.

Free Crochet Pattern for a Texture Jute Rug Doormat - Megmade with Love

And the texture of this rug?! It's the best. I love me some good texture... I use a stitch I called a "mini puff stitch", which is basically half a puff stitch. This stitch also adds some good weight to the rug so it's not to flimsy.

What you'll need:

-1575 feet (525 yards) of jute string that's 2mm wide, the exact jute I used is found at Hobby Lobby (link here -- this does not include yardage for the fringe. Add another 50 yards if you're wanting to add fringe. I used FOUR of these jute balls, barely dipping into the fourth one)
-size k hook (6.5 mm), or size needed to obtain gauge
-yarn needle
-scissors
-optional: some sort of rug backing. I haven't backed mine yet, but I would like to so it doesn't slide around. You could use some of this latex rubber backing that you brush on the back or you could use a rubber pad like this one.

Gauge:

10 stitches of (mps, sc) by 8 rows equals a four inch square

Measurements:

unblocked rug (excluding fringe) measures 21 by 32 inches

Abbreviations:

ch('s)=chain(s), yo=yarn over, sc=single crochet, mps=mini puff stitch (see notes for description), st(s)=stitch(es)

Notes:

-in this pattern I use a stitch I call a "mini puff stitch" (or "mps" in the pattern). It's called mini because you are inserting your hook into the designated stitch half as many times as a normal puff stitch. Below is how to work the mini puff stitch :

mps: yo, insert hook into stitch, yo and draw loop back through, yo, insert hook into same st, yo and draw loop back through, (there should be five loops on your hook at this point) yo and draw through all loops on hook. 

-chains at beginning of rows do not count as a stitch

-working with jute can be hard. It's very rough and can rub on your skin. It can also prove difficult to manage, wearing out your wrists. I took many breaks while working on this rug so I wouldn't over work my hands, and suggest you do the same! Here's a couple of other things that helped me out when working with jute: changing up the way you hold the jute to make it more comfortable... if possible it would be best to have a middle-pull skein/ball of jute to make it easier to work with... @oneofakate suggest putting tape on your hands where the jute rubs-- I thought that was a great idea, I actually tried wearing gloves but it didn't really work out... I just held the jute very loosely in my left hand... You could also use a hook with a rubber grip... 

-you could easily make this rug into a runner by adding rows until the desired length is achieved. You could also customize the width by adding or taking away stitches in multiples of 2.

-you may want to block your rug to make it lay better. You could just spray with water and stretch around to your liking and lay on a flat surface to dry.

-like mentioned above, you could add any sort of rug backing to keep it from shifting around

Pattern

Row 1) ch 51, mps (see notes for how to do this stitch) in second stitch from hook, sc in the next st, [mps, sc] repeat [ ] across the row, ending with a sc (50 total sts - 25 mps + 25 sc)

Rows 2-72) ch 1, turn, [mps, sc] repeat [ ] across row, ending with a sc (50 total sts - 25 mps + 25 sc)

-at this point I decided to sc around the entire outside perimeter of the rug to make more of a neat edge. I just started down the left edge from where I left off in row 72 by chaining one and working sc's all the way around the rug, working 2 sc into the corners. Then once I made it back to that chain one I joined with a slip stitch. 

Fasten off, weave in ends

Fringe:

Free Crochet Pattern for a Textured Jute Rug - Megmade with Love

For the fringe I decided to cut pieces of jute about 8 inches long...

Free Crochet Pattern for a Textured Jute Rug - Megmade with Love

To work the fringe I took two 8-inch pieces and folded them in half. Then I drew those pieces through the stitches on the short ends of the rug with my crochet hook, like shown in the photo above. Don't pull all the way through!

Textured Jute Rug

Then you will pull the ends through those loops you just partially pulled through (shown above). You're essentially just tying them onto the ends.

Textured Jute Rug

To finish the knot, just pull the ends tightly to secure. Continue doing this all along the short ends of your rug. You may need to snip the ends to even them out.

Once all the fringe is added your rug is complete! You may wish to block your rug so it will lay to your liking. 

Free Crochet Pattern for a Texture Jute Rug Doormat - Megmade with Love

Hope you stuck it out with the jute to make this simple rug! I think the key, for me, was to take breaks to give my hands a break. It really did make a difference.. 

If you end up making your very own jute rug, feel free to tag me over on Instagram-- I'd love to admire it :)

Take care and happy hookin'!!
Meg

Free Crochet Pattern for a Textured Jute Rug Doormat - Megmade with Love