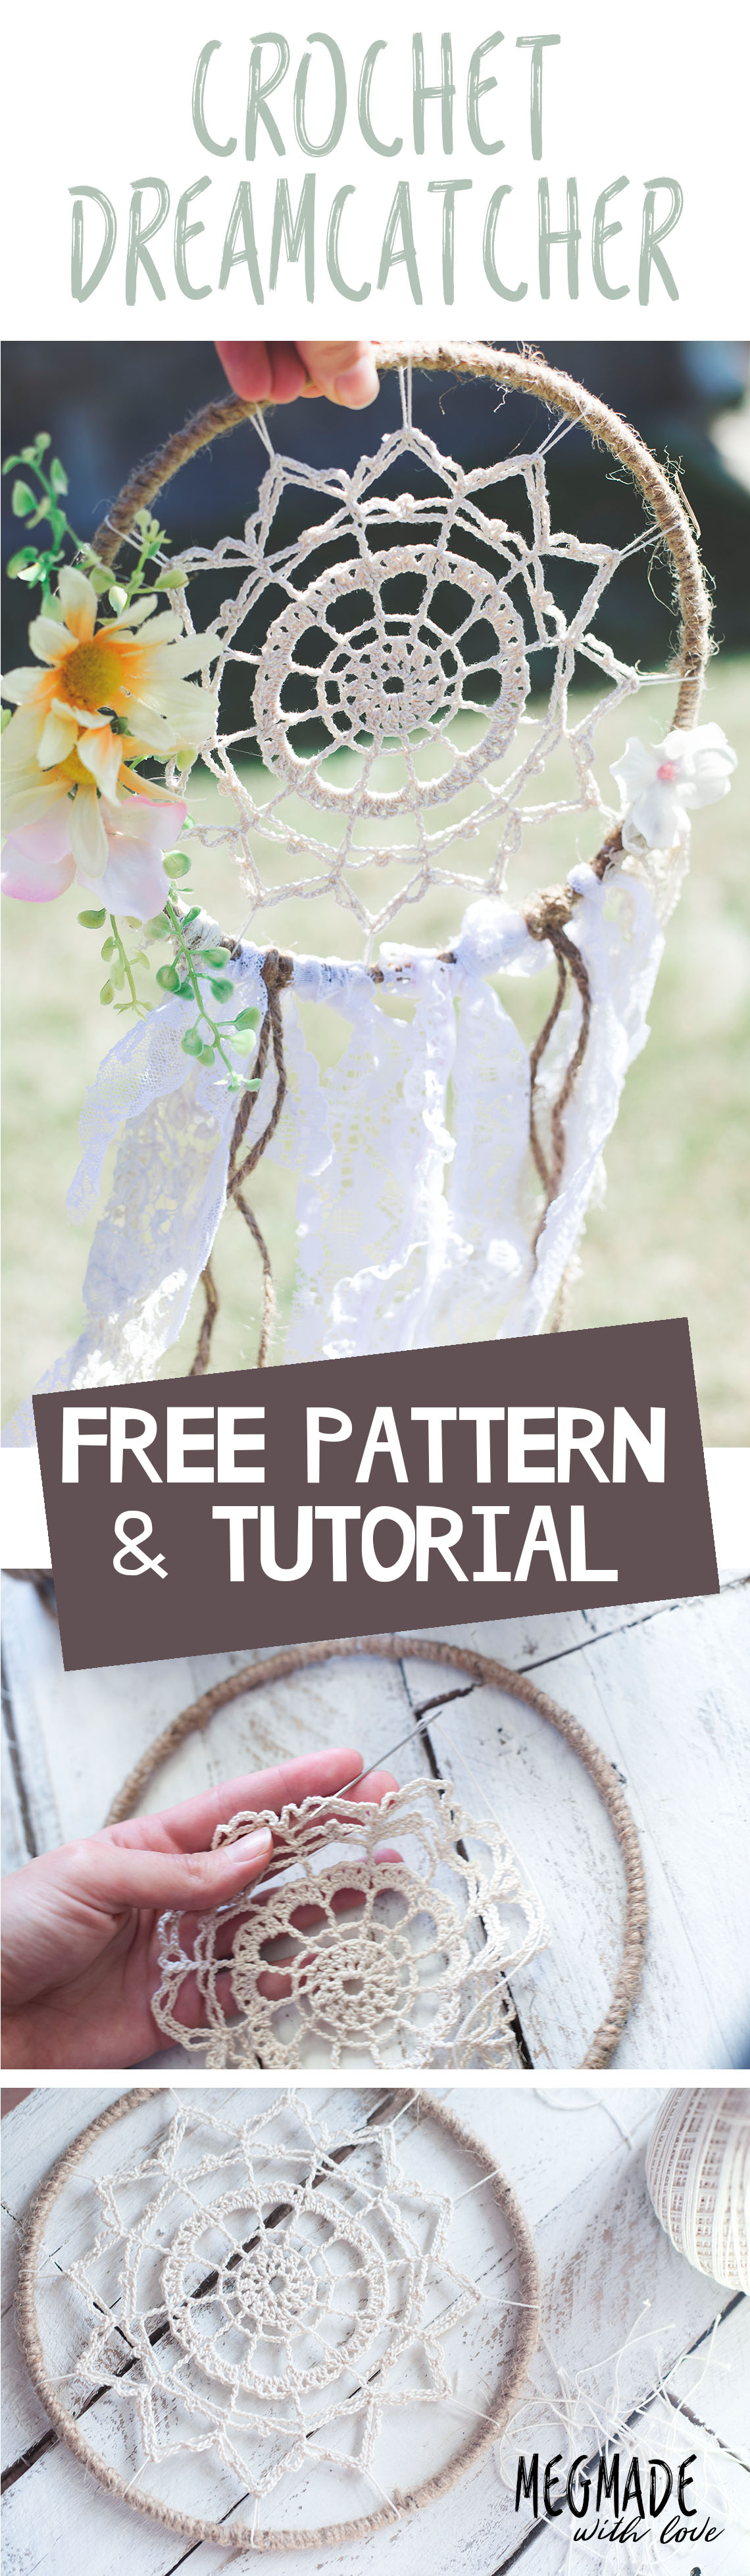
Crochet Dreamy Dreamcatcher Pattern
/
***You can find the PDF version of this pattern in my shop by clicking here. Great for easy printing!***
I'm oh so pumped to bring you this dreamy dreamcatcher pattern I've whipped up here recently! I've been inspired by the doily dreamcatchers for quite some time, and thought to myself- I should create one of those things from scratch.
Not going to lie, this was my first time working with crochet thread, I've just always avoided it for some reason. Probably the fact that its just so small and time-consuming! But in reality, it's truly not bad at all. It did take a bit for me to get the hang of it, and since I was new to this area of crochet, it took me awhile to write up a pattern for it. But I got er done!

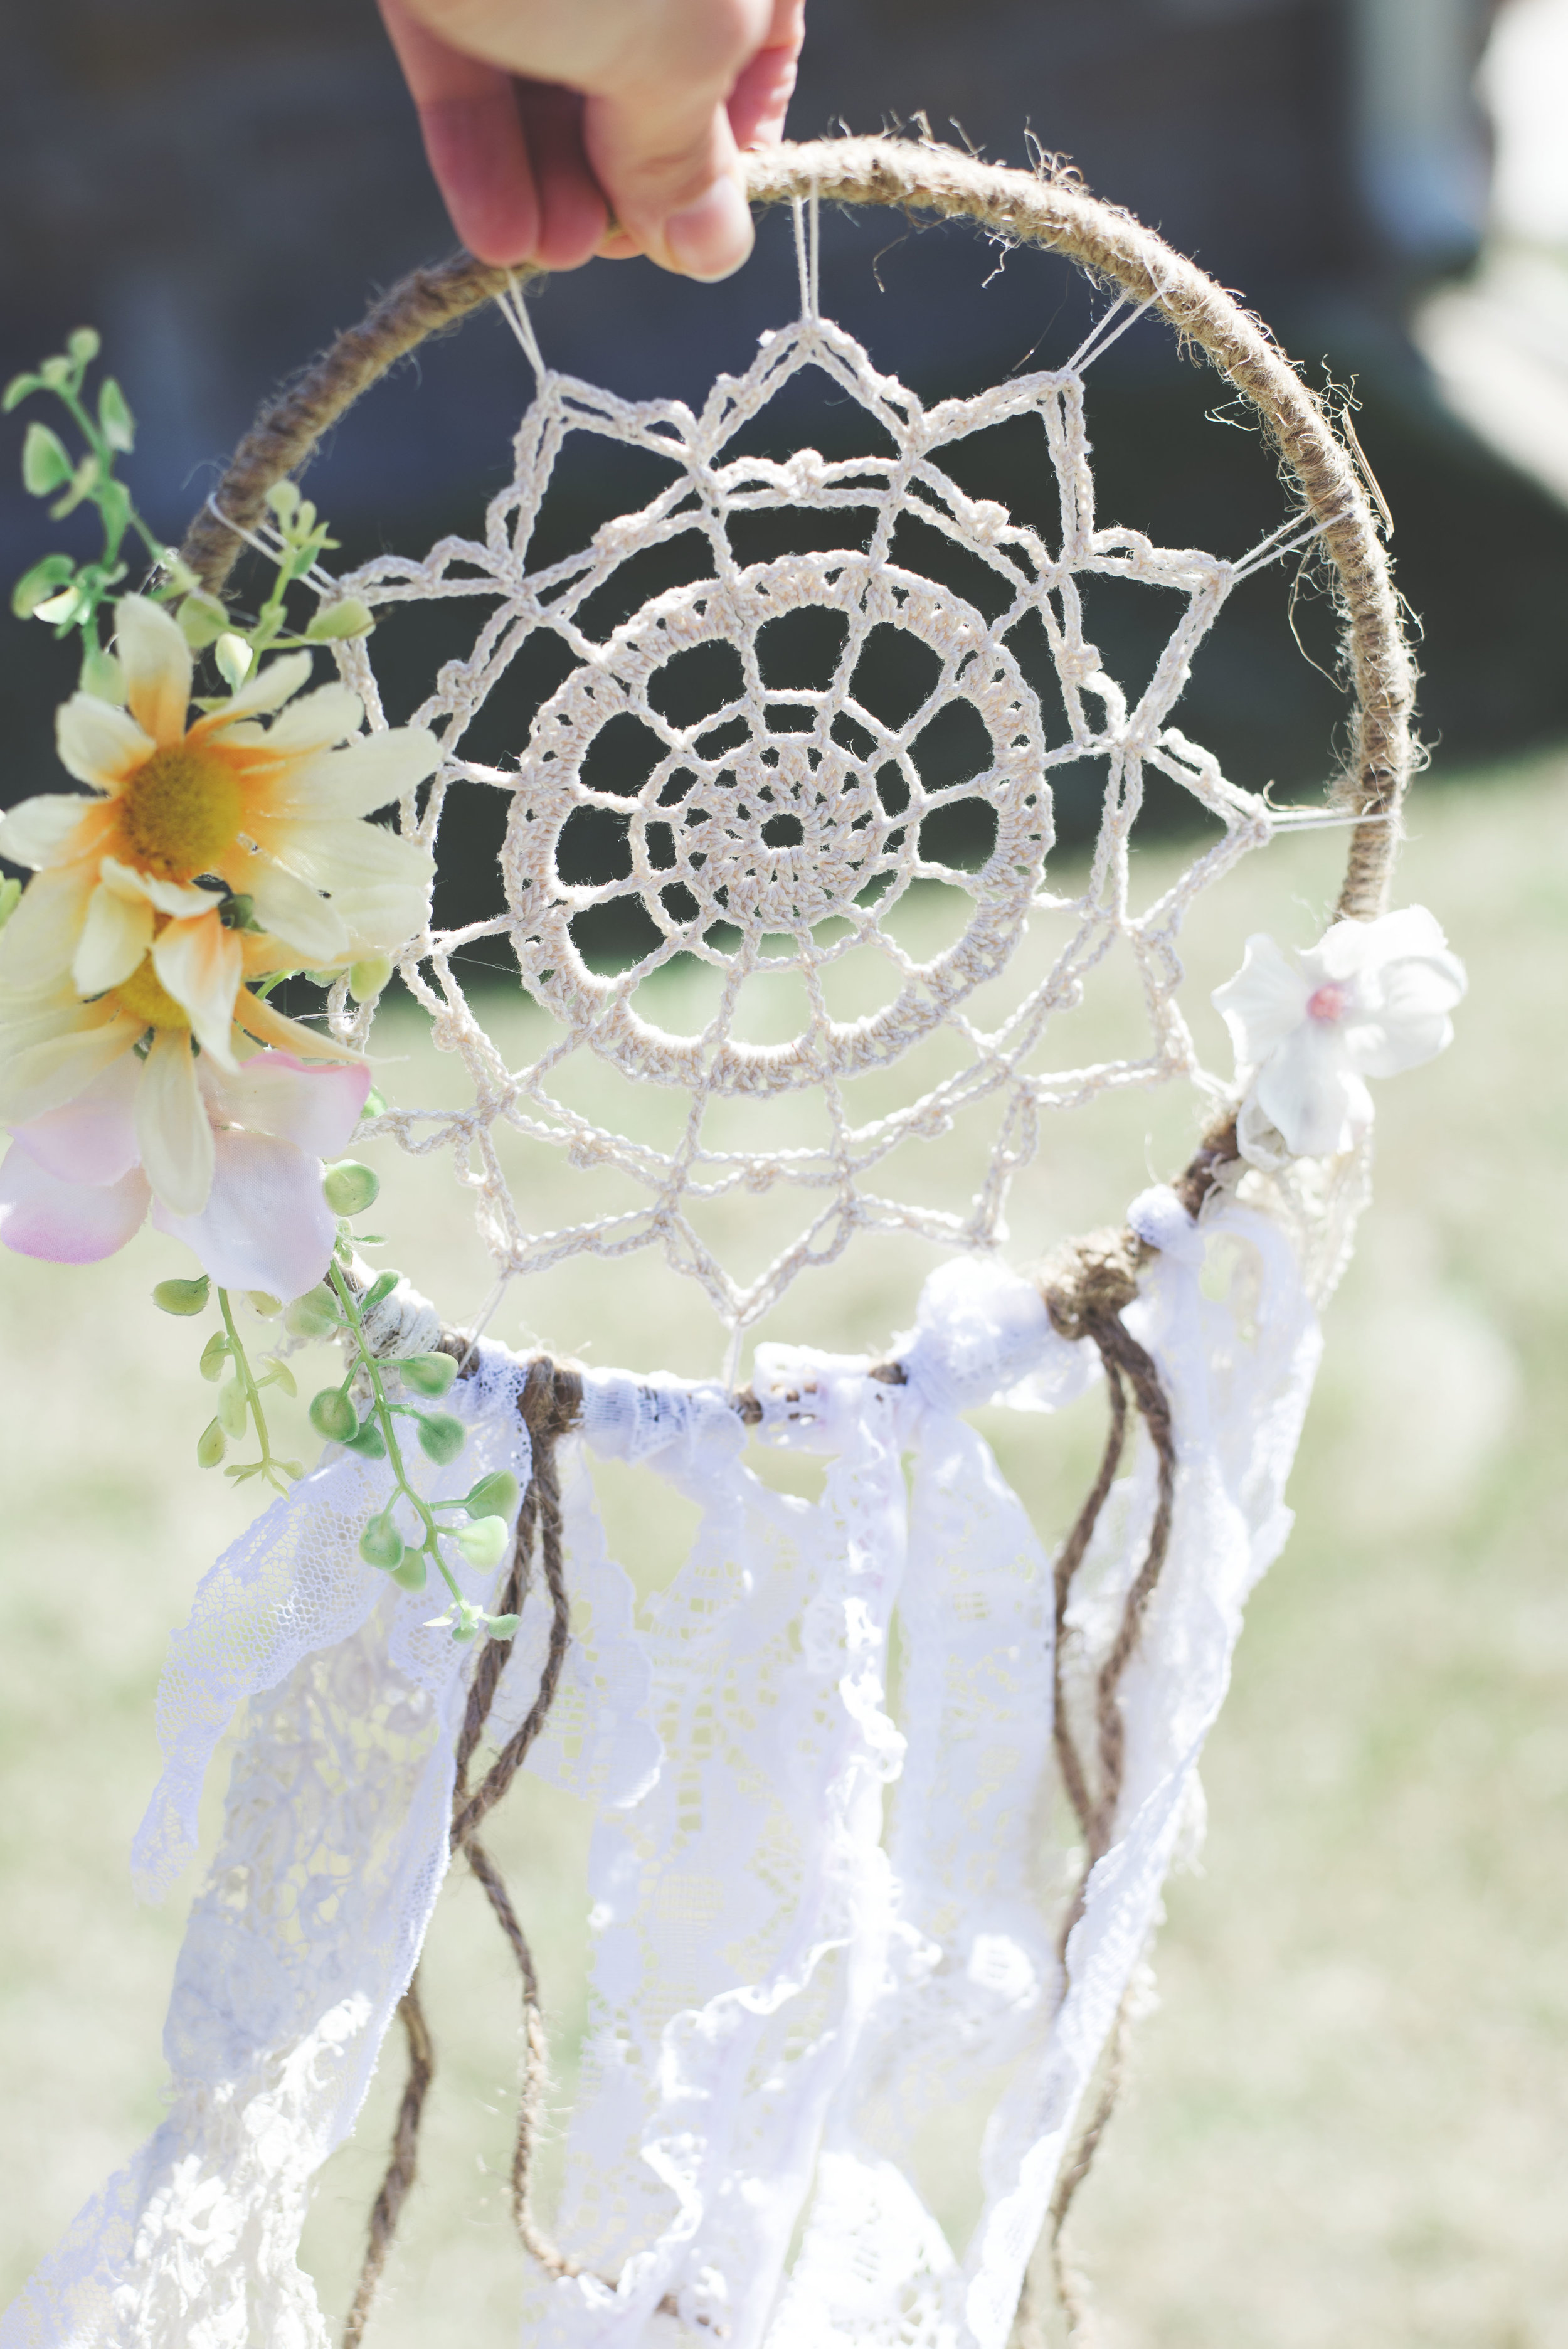
The thing with dreamcatchers is, it's so easy to customize them and make them your own. I chose to wrap my metal ring with jute cord, but you could totally use suede cord, yarn, material-- really the possibilities are endless!

I also chose to hot glue on some super pretty artificial flowers and tie on random lace pieces I had laying around to add to the dreamy effect. You could even add feathers or beads. :)
I love the dreaminess of this piece! I will say that I personally don't believe dreamcatchers have any special powers of any sort, but I sure do admire the look of them.
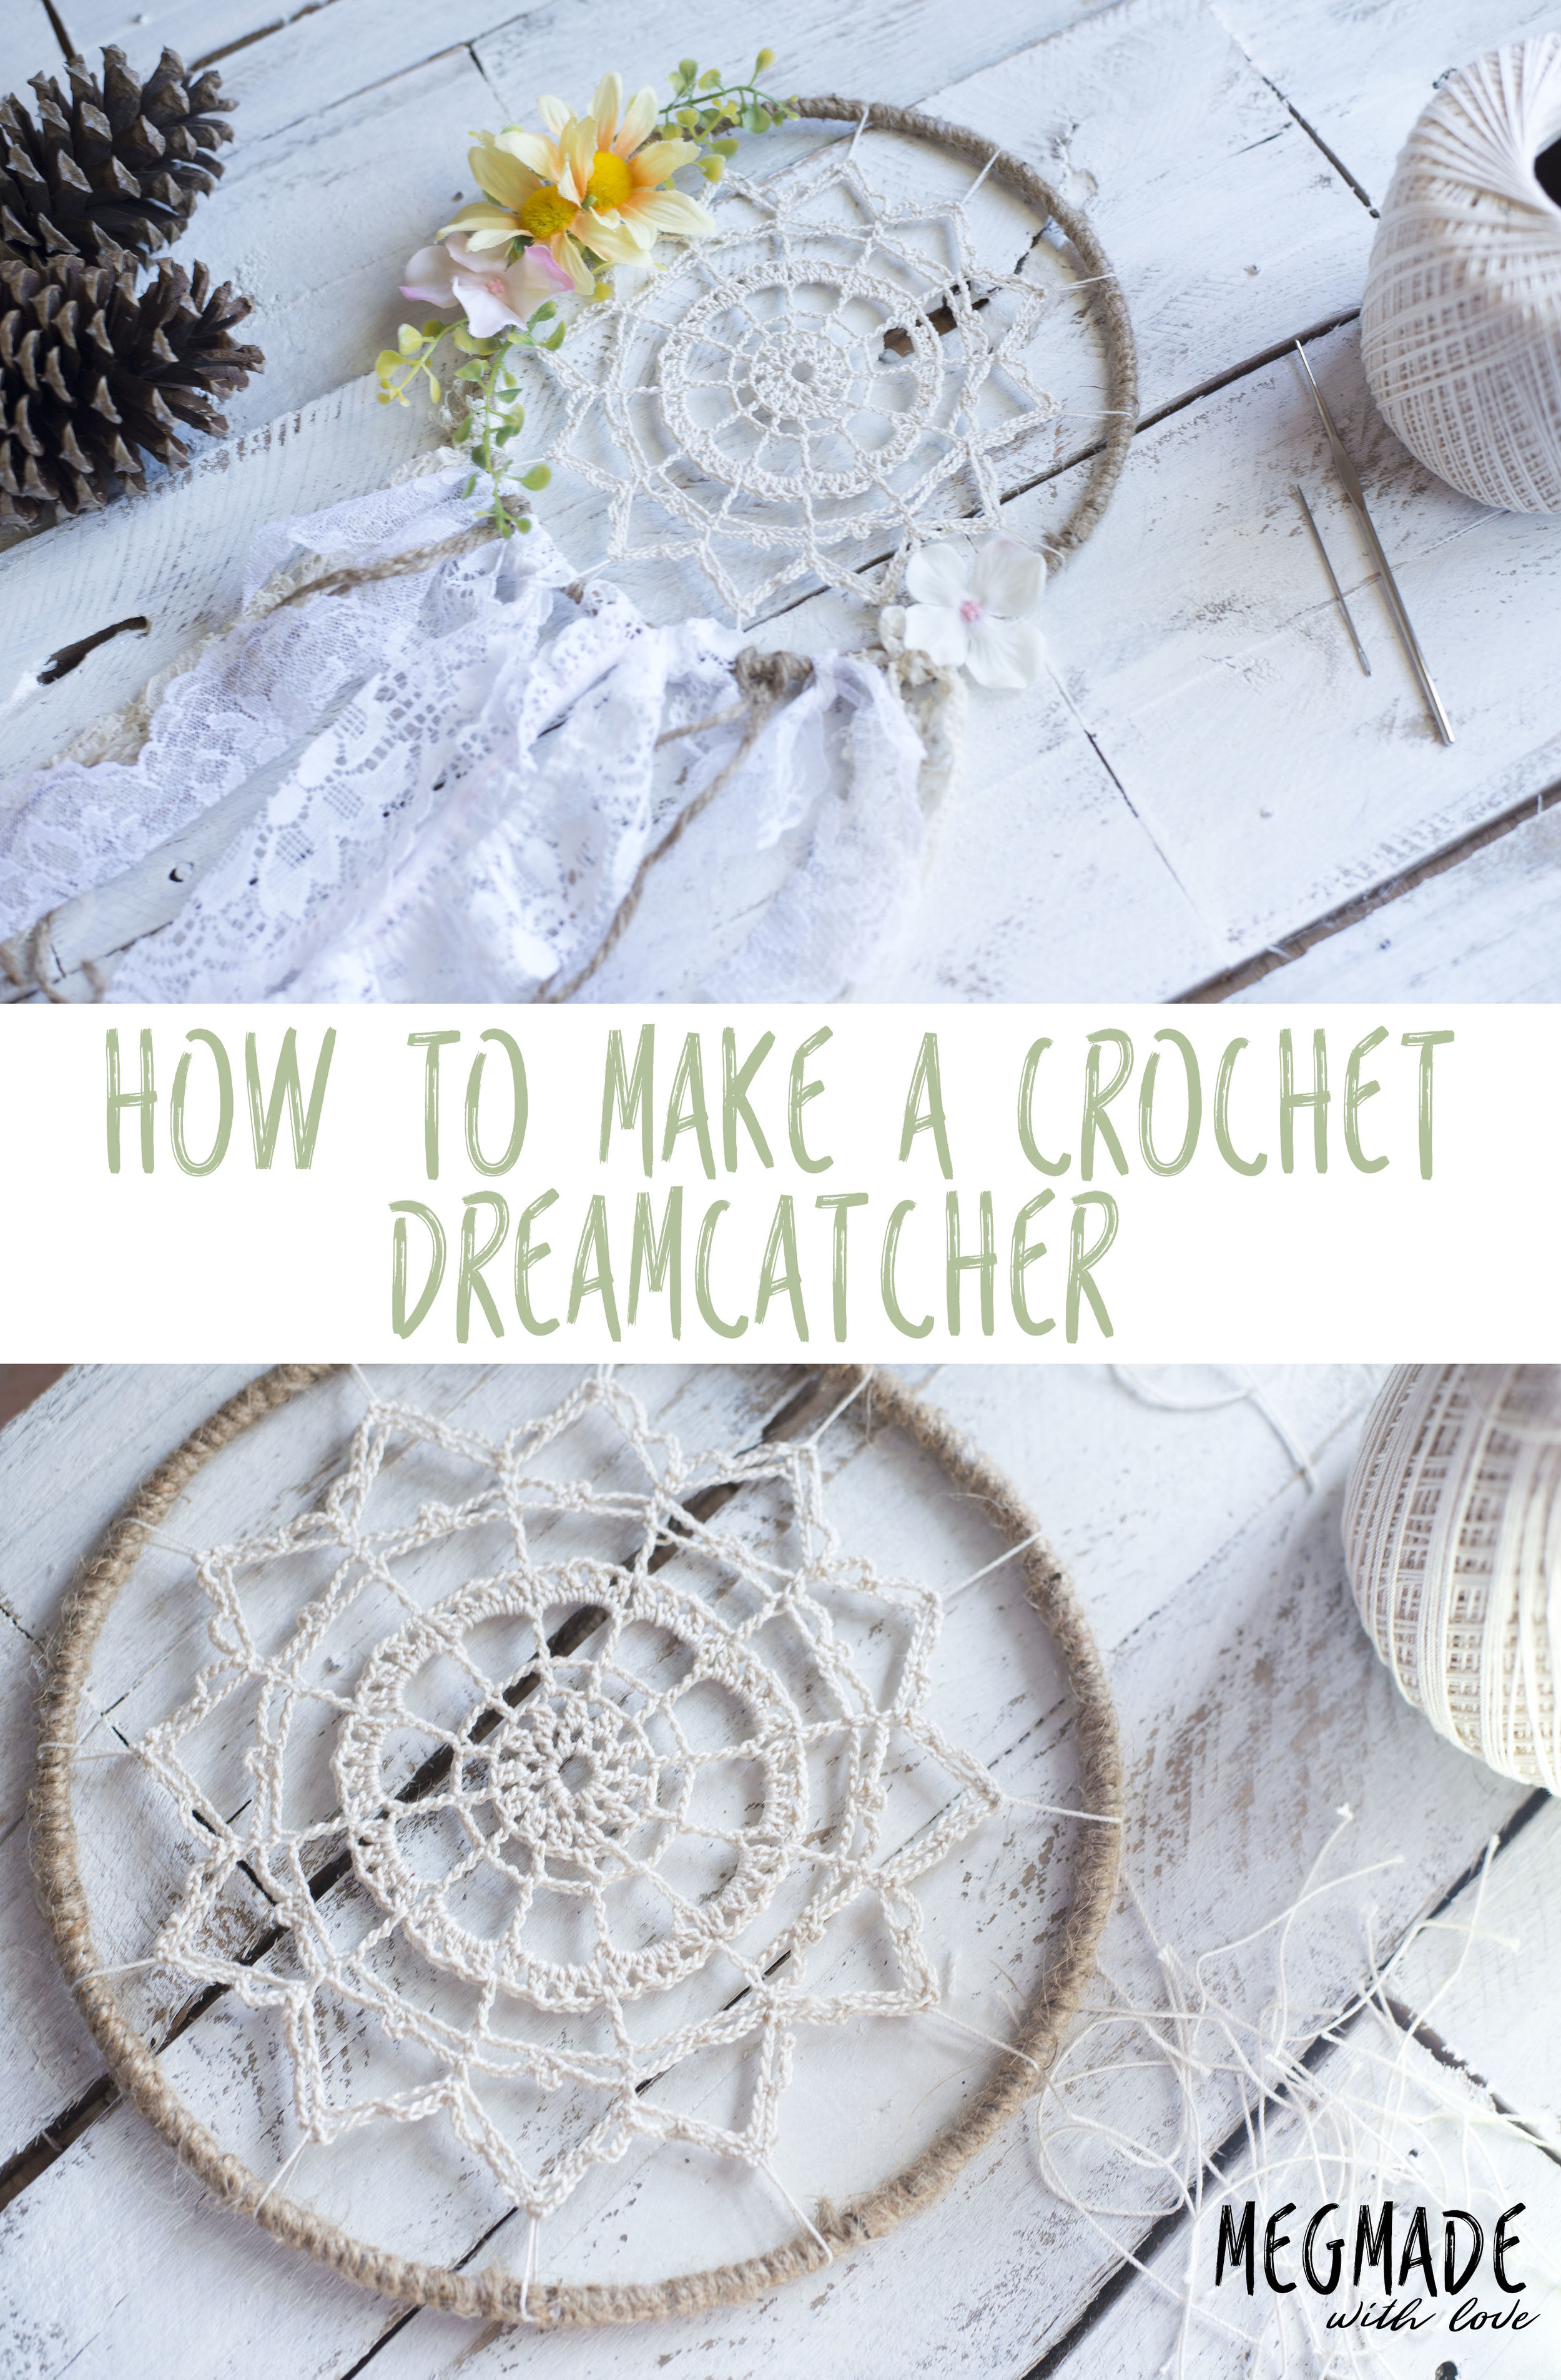
What you'll need:
Size 9 (1.4 mm) hook (a set like this would be perfect for a beginner)
Cotton crochet thread, size 10 (I used Red Heart Classic Crochet Thread in Natural)
Tapestry needle
7-inch metal ring (I got this set)
jute cord or other material to wrap around metal ring
lace, ribbons, flowers, feathers or whatever you prefer to decorate
Dimensions:
Approximately 5 inches in diameter unstretched
Abbreviations:
ch=chain, st(s)=stitch(es), sc=single crochet, dc=double crochet, tr=treble, sl=slip, sp=space, 2dcl=two double crochet cluster (explained below), yo=yarn over, sk=skip
Stitch explanation:
2dcl= yo, insert hook into designated st, yo, bring back through st, yo, draw through first two loops on hook, leave 2 loops on hook, yo, insert hook into same st you were already working in, yo, bring back through st, yo, draw through first two loops on hook, yo, draw through remaining three loops on hook
Pattern:
ch 8, join to 1st ch with sl st
1) ch 3, (counts as dc, ch 1) [dc, ch1] 11 times, join to 2nd ch with sl st(total 12 dc, 12 ch-1 spaces)
2) sl st into ch 1 sp, ch 2, dc in same sp (counts as one 2dcl), ch 2, [in the next ch 1 sp, 2dcl, ch 2] repeat [] around, join to 2nd ch with sl st (total 12 clusters)
3) sl st into ch 2 sp, ch 6 (counts as dc, ch 4), [dc in next ch 2 sp, ch 4] repeat [] around, join to 2nd ch with sl st (total 12 dc, 12 "ch 4")
4) sl st into ch 4 sp, ch 10 (counts as tr, ch 7) [tr in next dc from previous row, ch 7] repeat [] around, join to 3rd ch with sl st (total 12 tr, 12 "ch 7")
5) sl st into ch 7 sp, ch 2, dc into ch 7 sp, ch 2 (counts as one 2dcl) [working in same ch 7 sp--{2dcl, ch 2} 2 times 2dcl], [in next ch 7 sp- 2dcl {ch 2, 2dcl} 3 times] **4 total clusters in each ch 7 sp** repeat [] around, join to 2nd ch with sl st (total 48 clusters, 36 "ch 2")
6) ch 12 (counts as tr, ch 9), [tr in sp between the 2 2dcl without a "ch 2" in between them, ch 9], repeat [] around, join to 3rd ch with sl st (total 12 tr, 12 "ch 9")
7) sl st into ch 9 sp, ch 6, sk 4 ch, sc (in 5th ch), ch 3, sc in 5th ch again, ch 5, sc in tr, [ch 5, sk 4 ch, sc in 5th ch, ch 3, sc in 5th ch again, ch 5, sc in tr] repeat [] around
8) ch 16 (counts as sc, ch 15), [sc in sc from previous row that was worked into the tr st, ch 15] repeat [] around, join to 1st ch with sl st {total 12 sc, 12 "ch 15")
9) ch 6 (counts as sc, ch 5) [{ch 5, sk 3 ch, sc in next st} 3 times, ch 5, sk 3 ch, sc in sc from previous row] repeat [] around, join to 1st ch with sl st (total 48 sc, 48 "ch 5")
Fasten off, weave in ends.
To finish, I "blocked" my piece by ironing it flat.

Next, using a small amount of hot glue, I attached the jute cord by wrapping it tightly around the metal ring. I glued every few inches as well.


Then lay your crochet piece in the center of your wrapped ring.

Now you start attaching the piece to the ring. I cut an extra long piece of the thread, then thread it through my needle (I did this so I wouldn't have to keep threading my needle). I first put the needle through the crocheted piece in the center of each of the 12 big sections (in the sc between the 2nd and 3rd "ch 5" loops). See below.
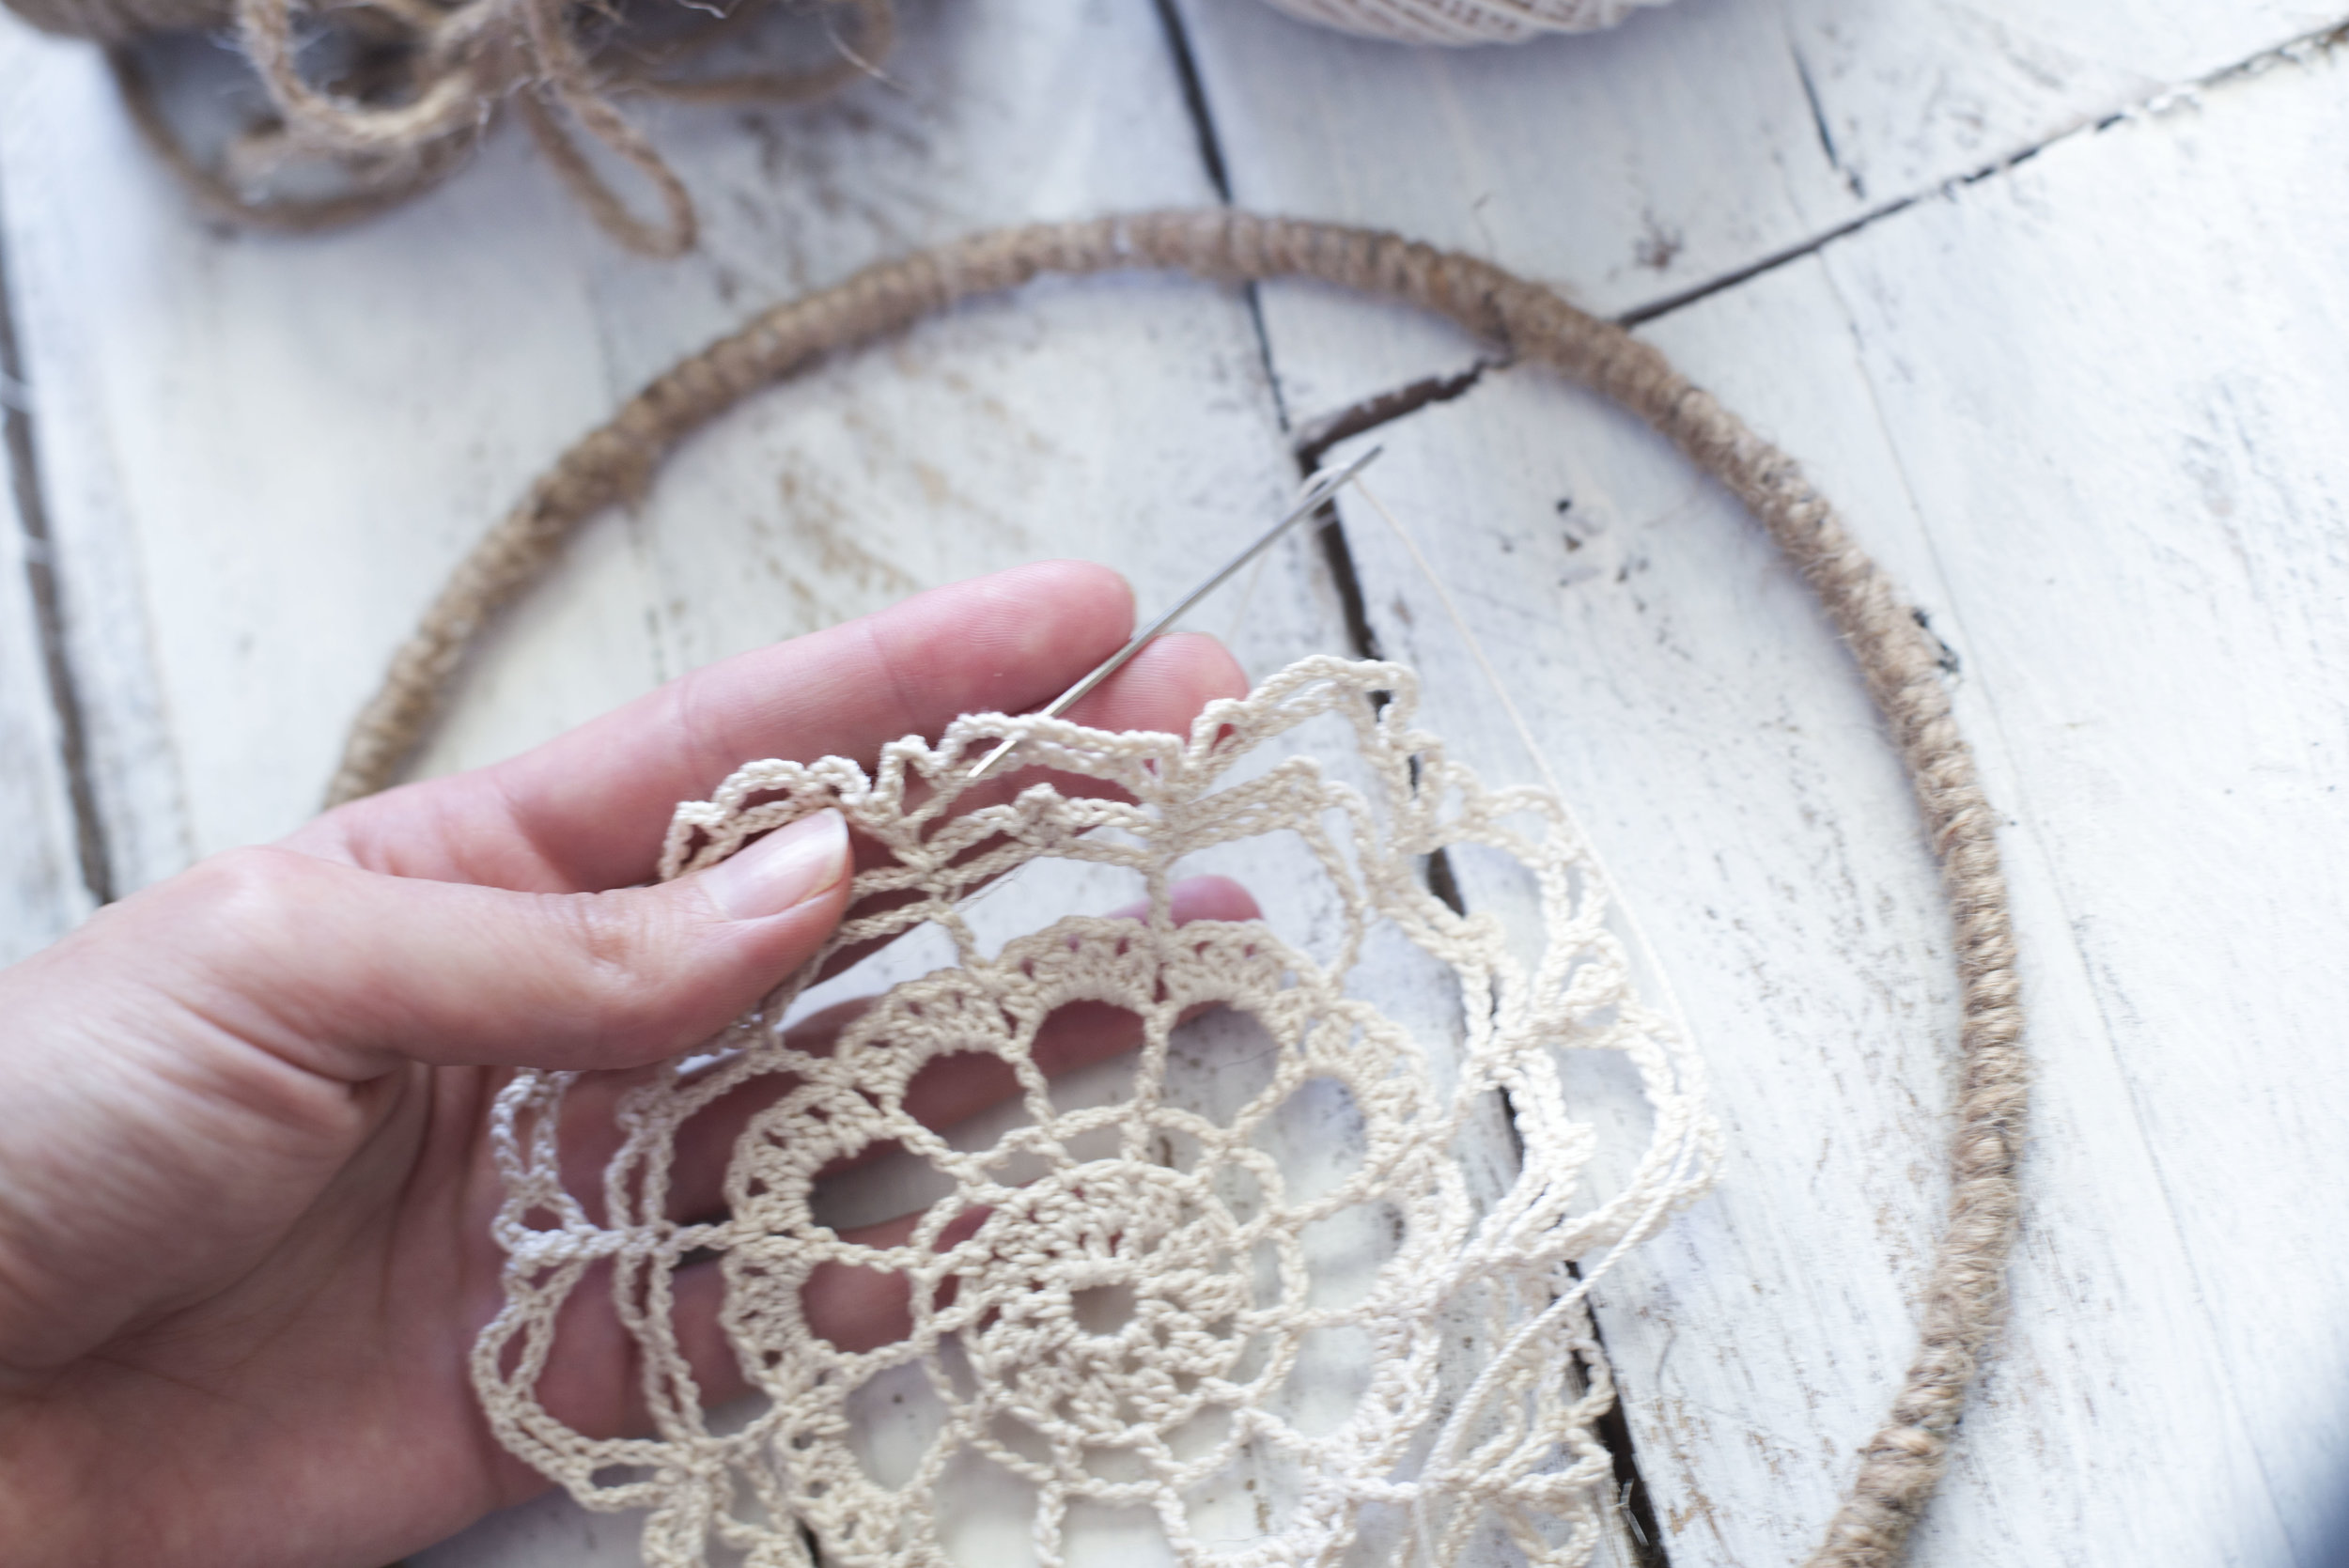
I pulled the thread all the way through, leaving about a 4-5 inch tail. Then I went over the metal ring with the needle, back around into the same space I inserted the needle first, pulling it through and leaving another 4-5 inch tail.

Then I tied a single knot-- not too tightly to secure the piece. Repeat that process with the opposite sides of the crochet piece.

Keep single knotting opposite sides of the piece until you've attached 12 sides of the piece.
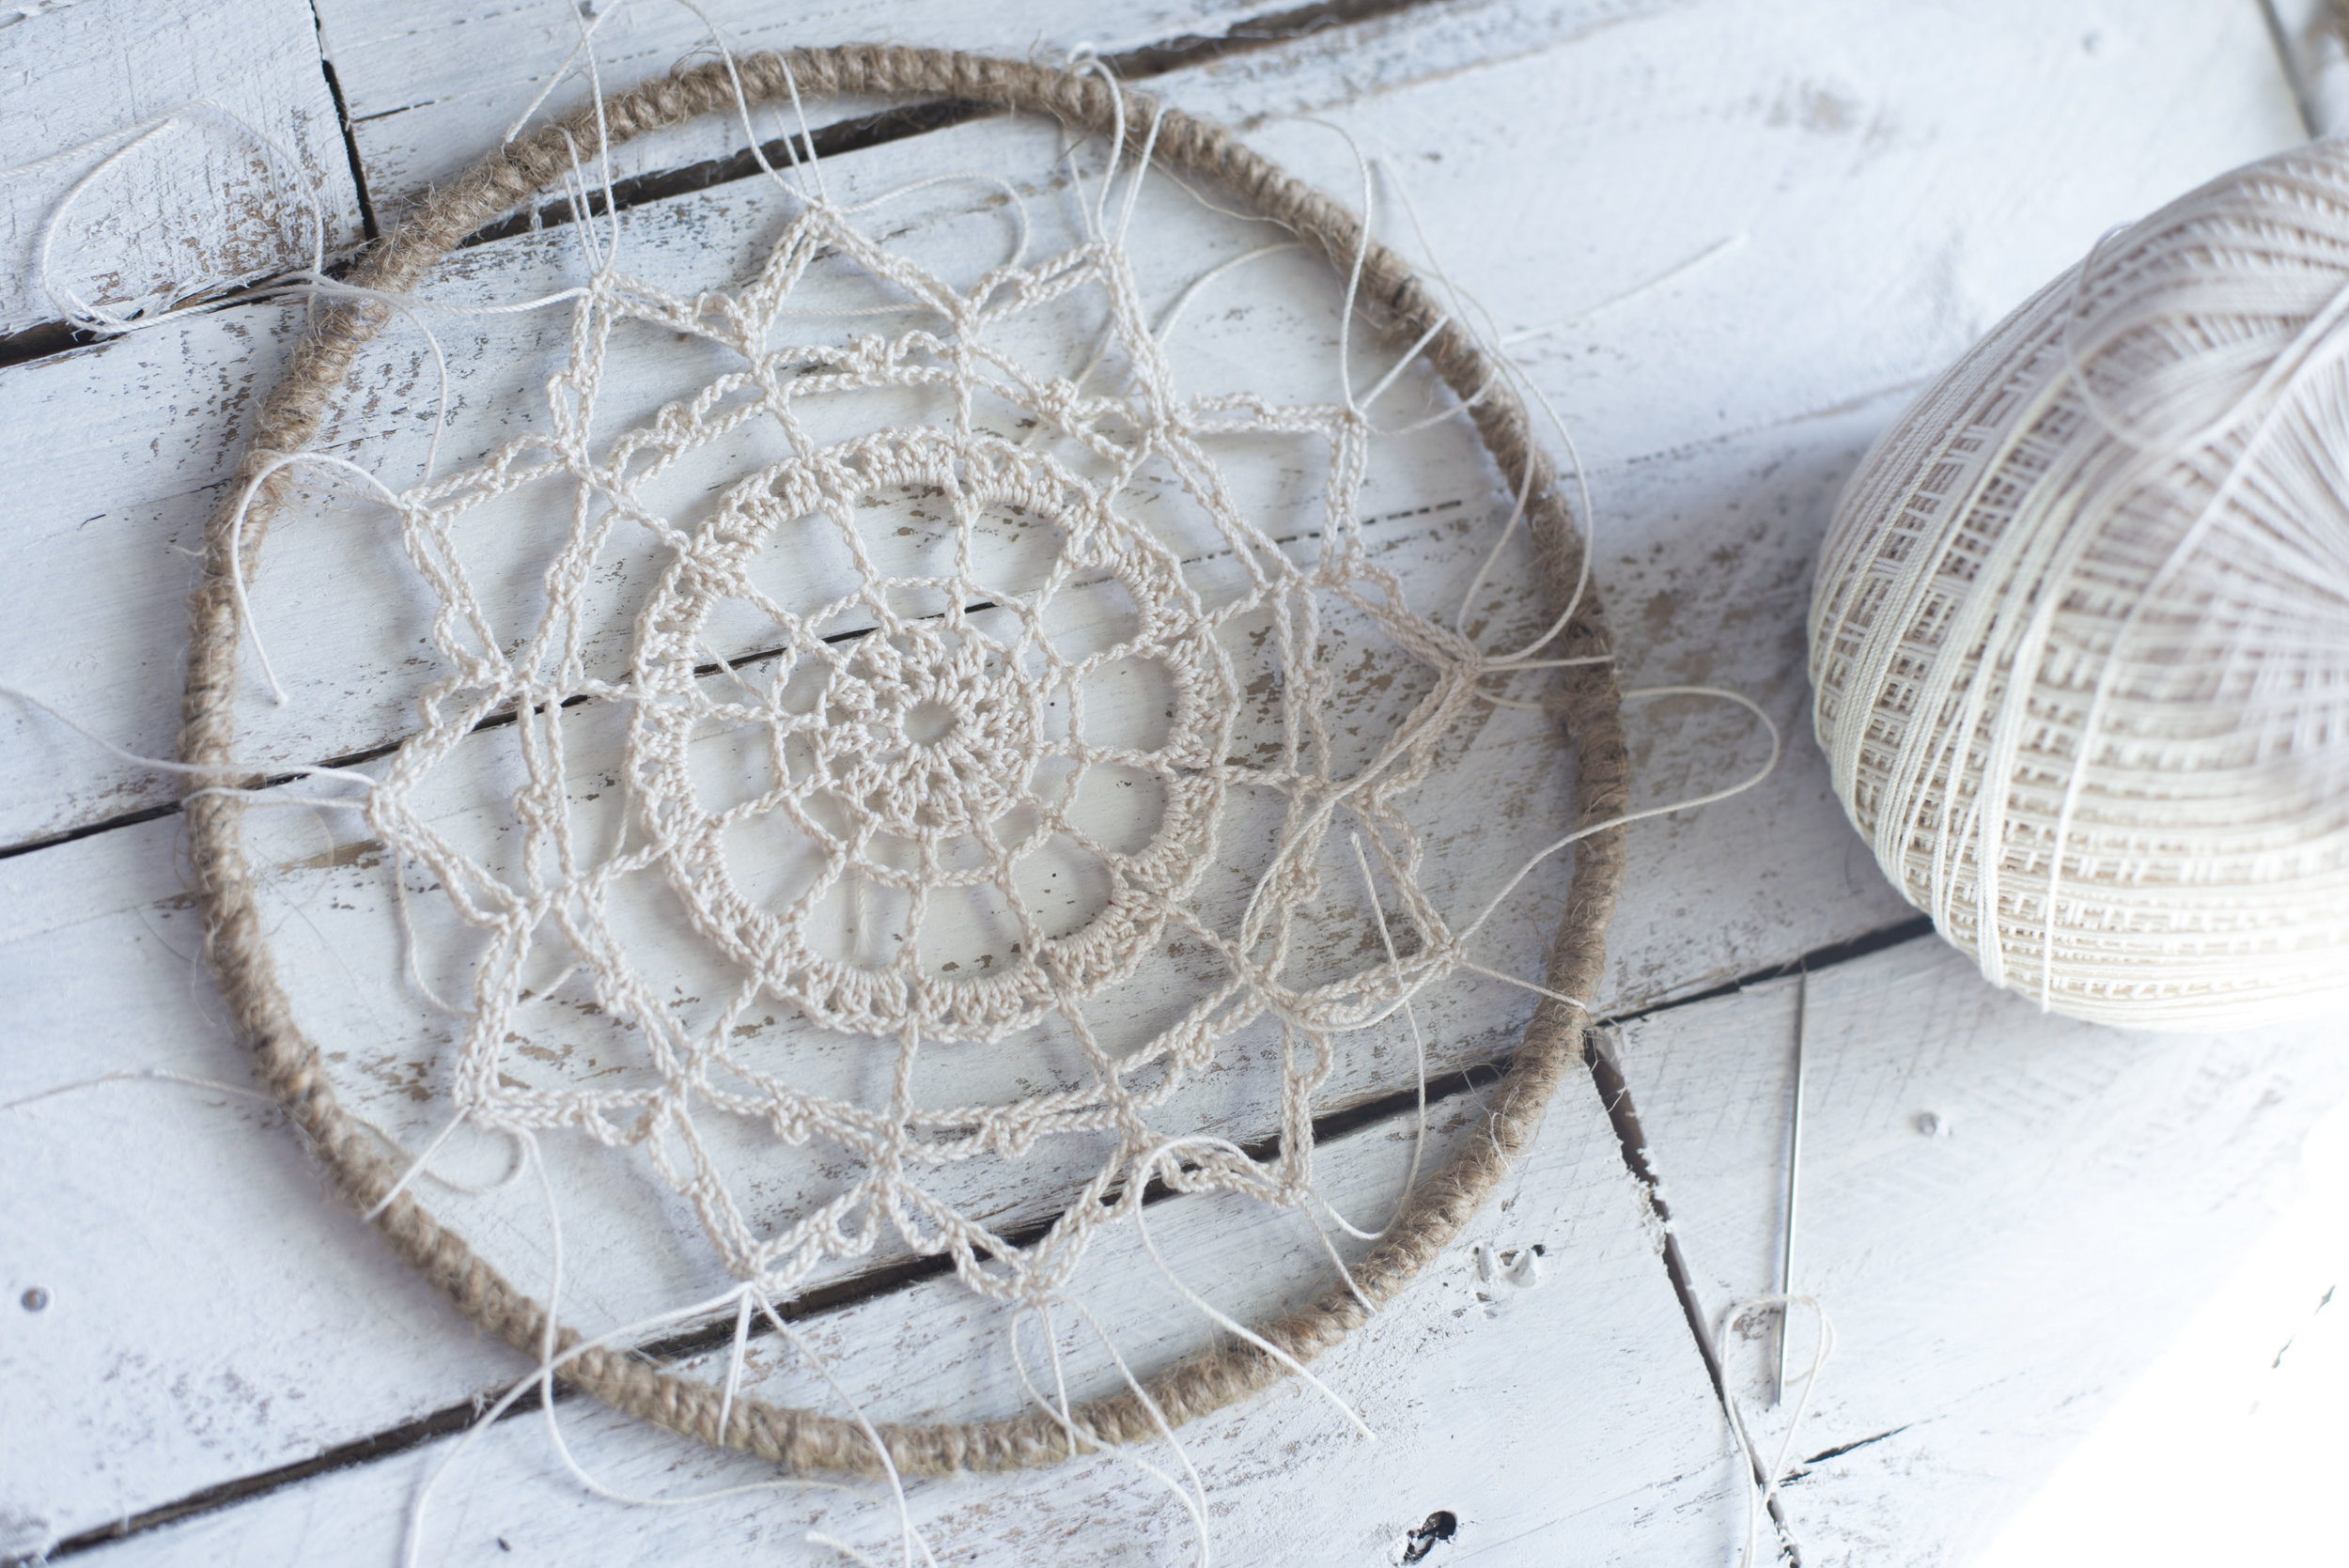
As you can see its a nice little mess of strings. ha! Then I tightened them all so the piece was nice and stretched. Making sure they were all even. Next I double knotted them and then with much patience, weaved in the ends.
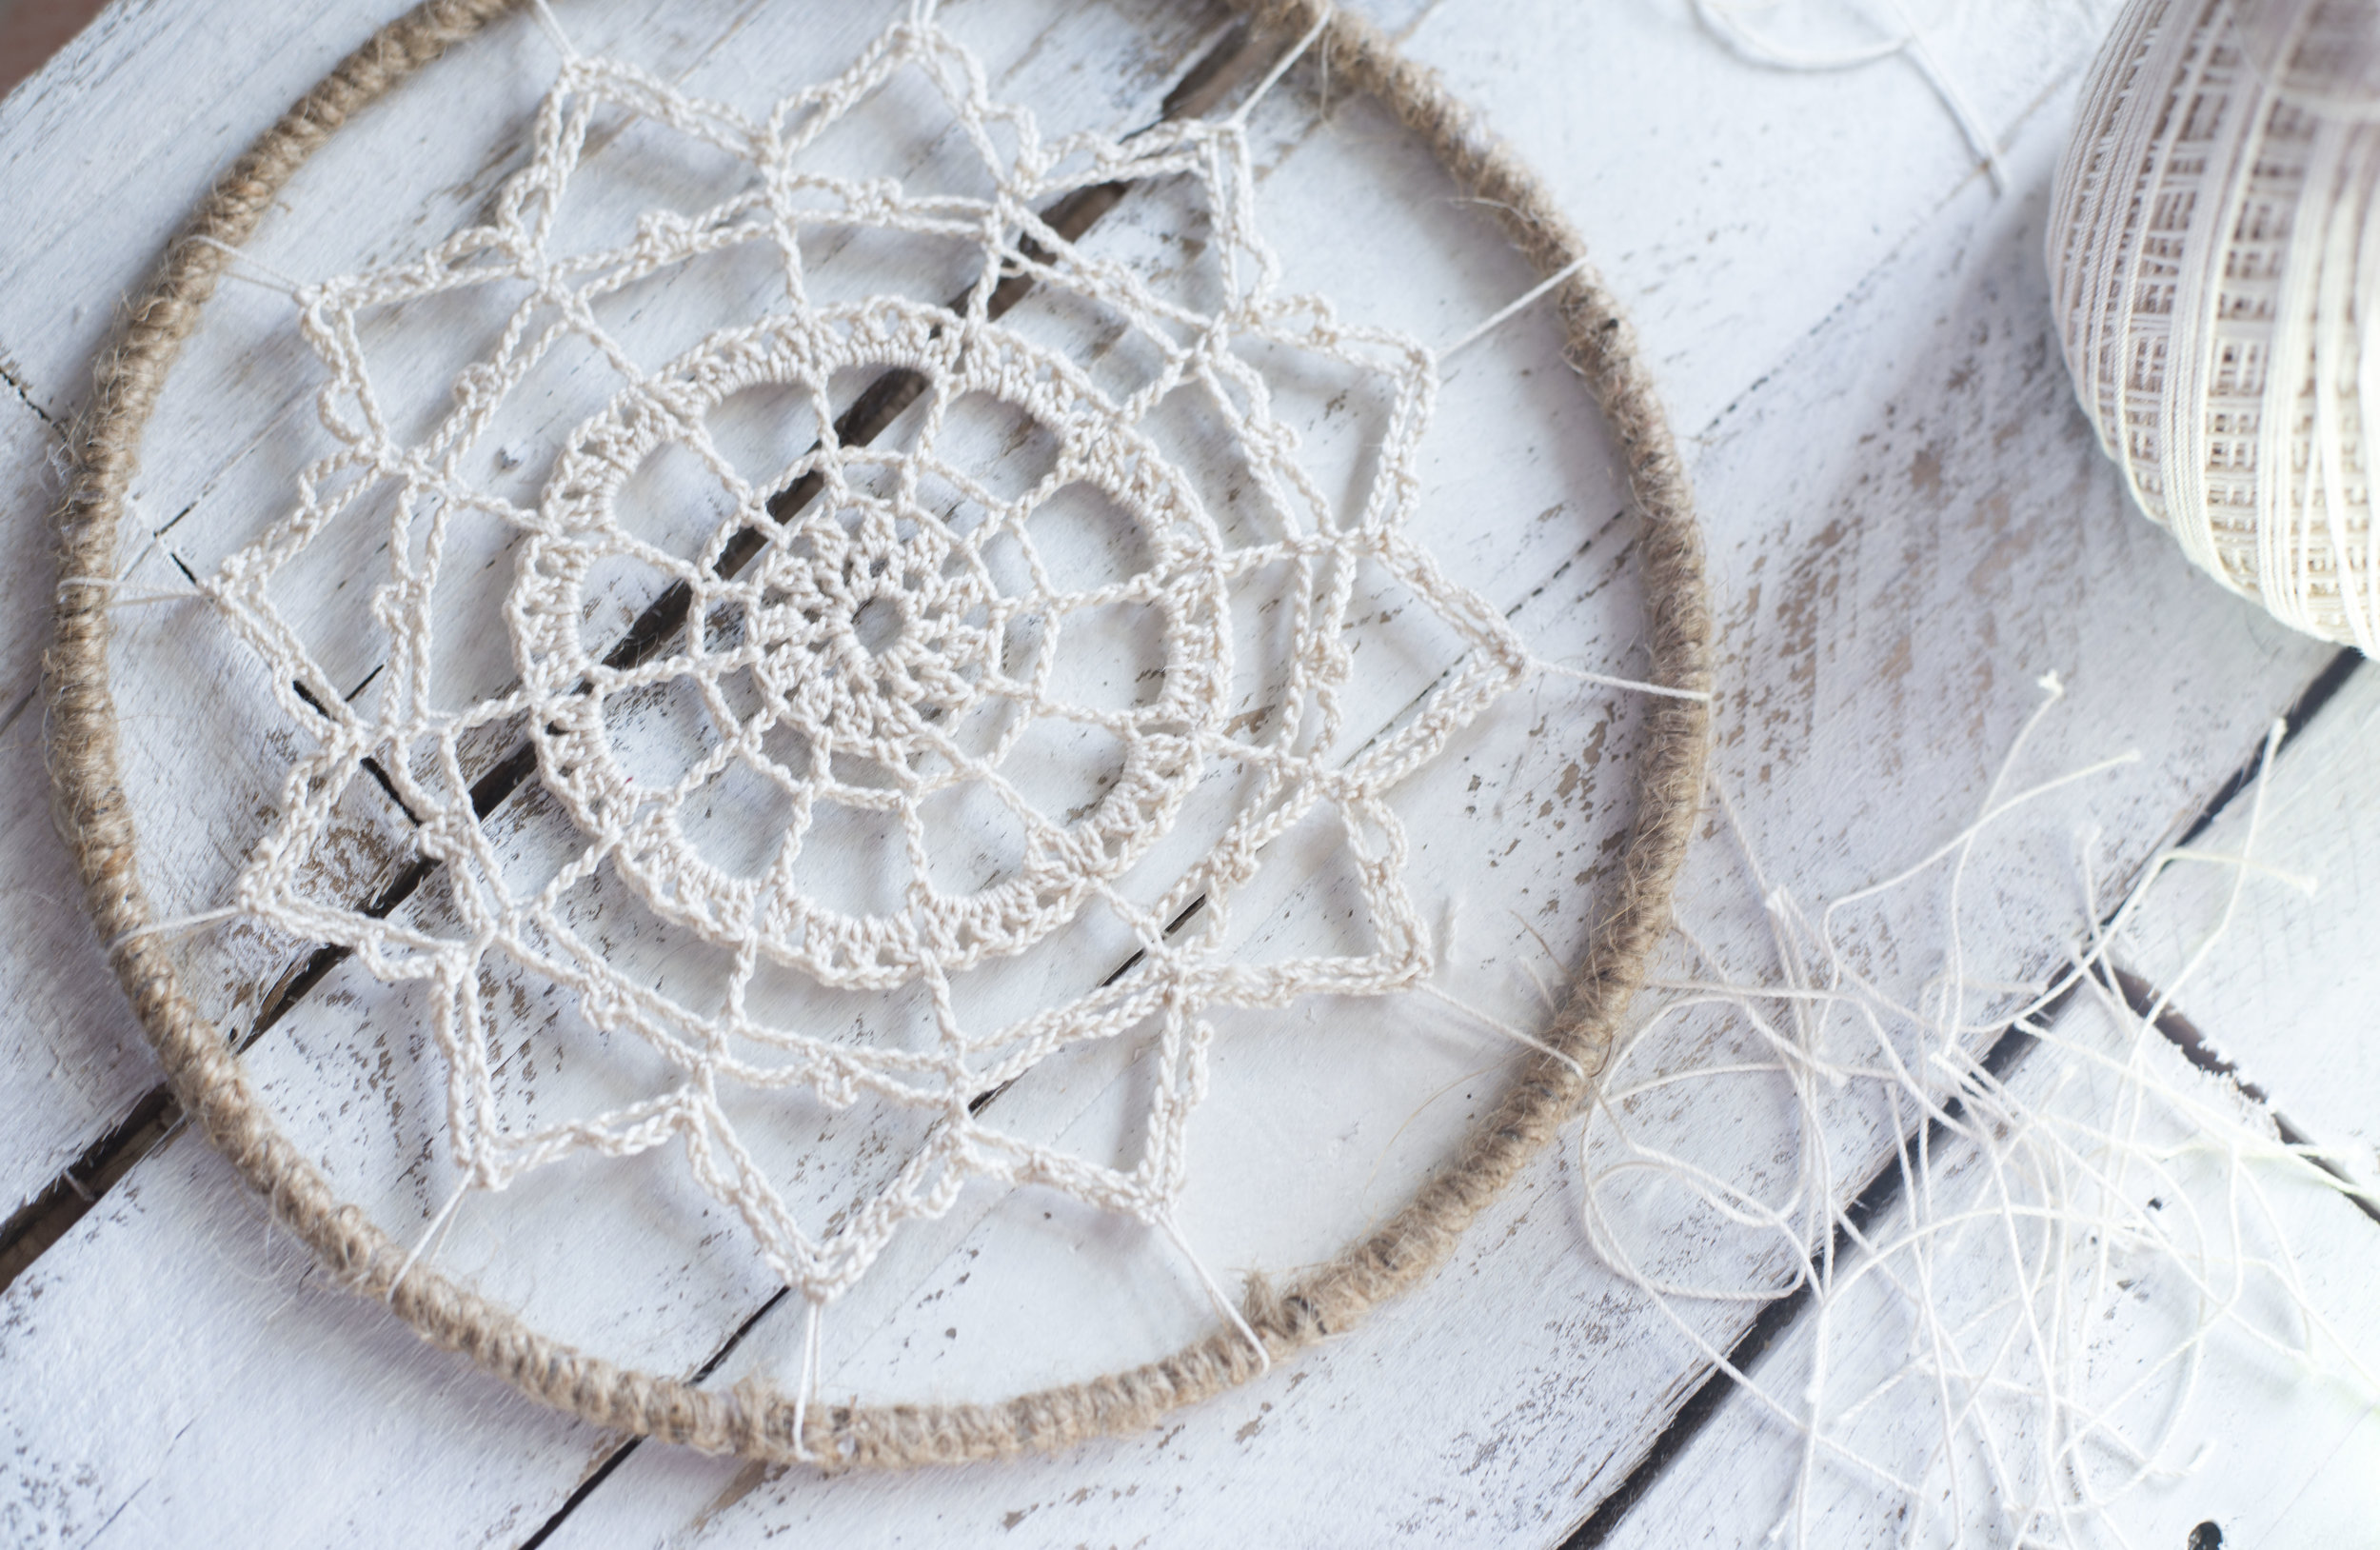
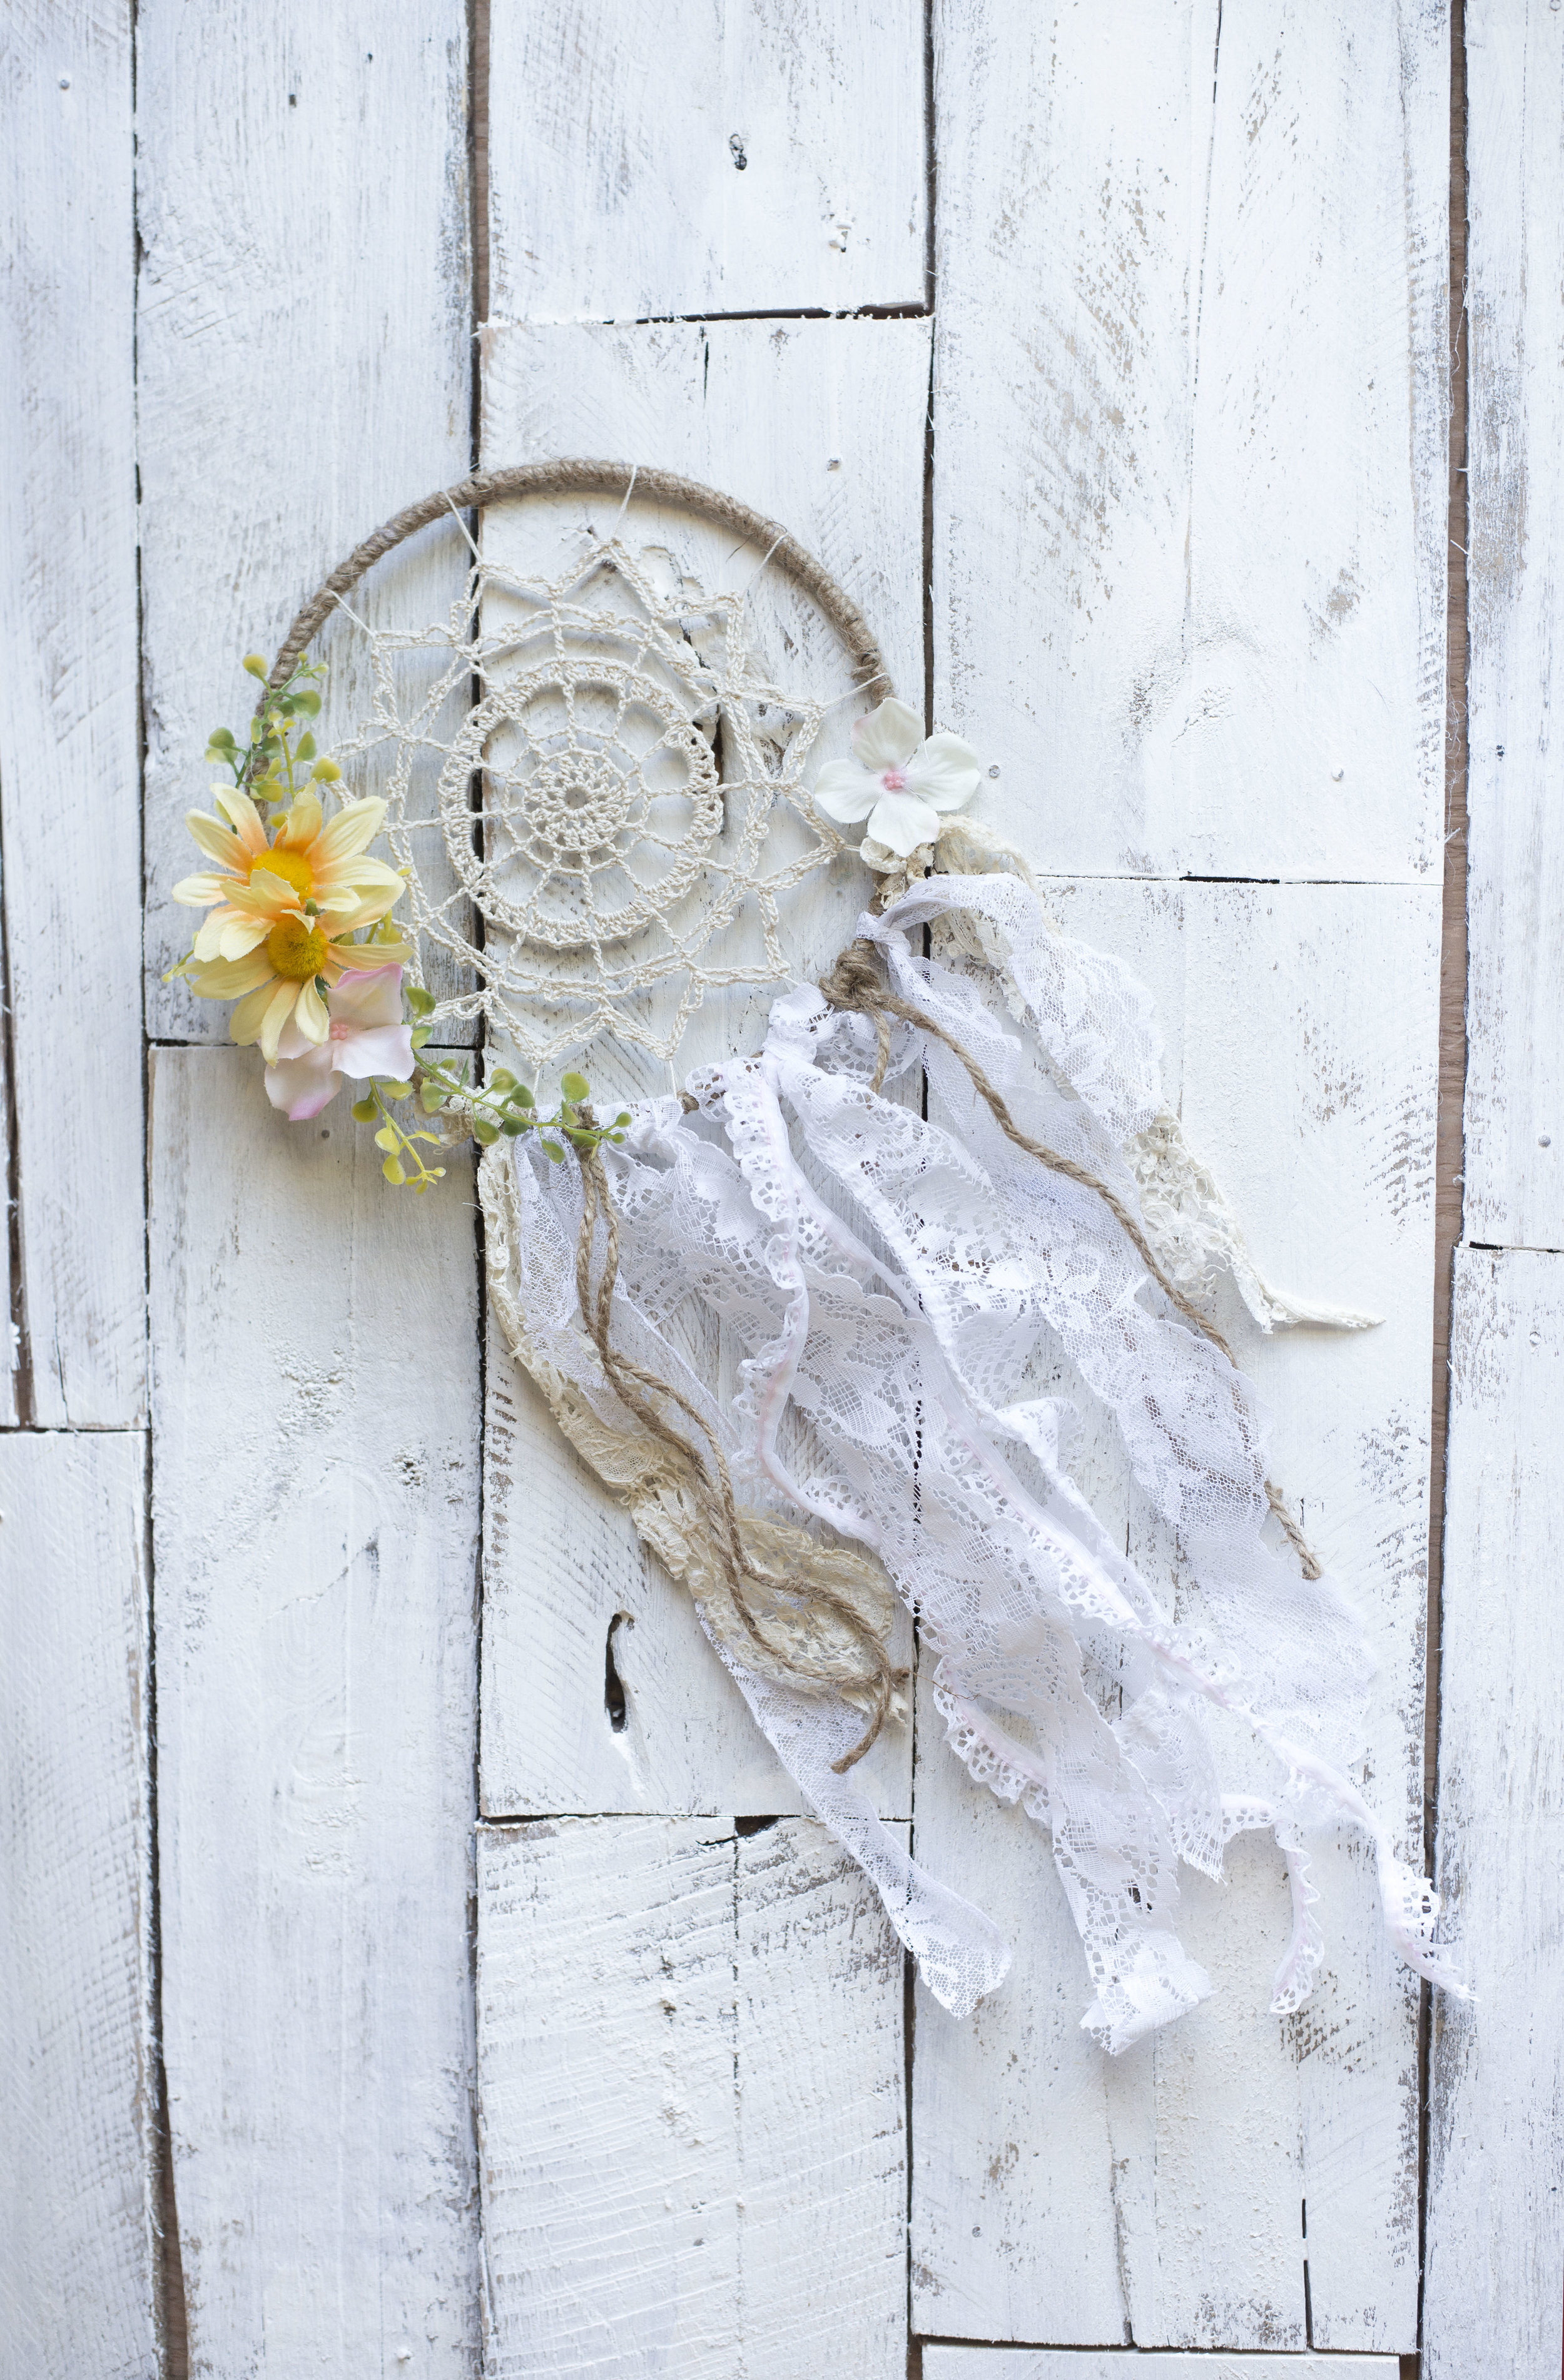
Ah, so much better without all those strings! This is just such a pretty piece!

Then you knot on your lace or material, and adorn the dreamcatcher with whatever your heart desires!
Sweet dreams! ;)
Meg